Showing posts with label toddler. Show all posts

Tuesday, December 20, 2016

Christmas for the Kids!

Good news y'all...plenty of things are still shipping in time for Christmas! Saturday morning while sitting in bed sipping on coffee and feeding the baby, I ran through my list of gifts in my head for the kids and did some more last minute ordering. It was all here by 12 pm Monday. Super quick! I also have picked out some toys locally which are probably my favorites but these are the ones that I am able to find online {once again, reminding you to shop your local stores!! :) }

Alongside toys, we also are asking for some super useful things the kids need for their rooms and what not! Weeks needs a pair of nightstands for his big boy room, which I am so excited about. Matching nightstands...yes please! I don't even have a pair of those! Frances Ann needs some new shades for her room and we are thinking about wooden mini blinds for her. I loved the look of the bamboo shades in our last house, but the wooden minis might work just fine here! She also has been using a wooden antique high chair which is fine but sometimes I would prefer her to be in a really up to date, sturdy chair with no wonky straps- I like this one! Just seems simpler that way even if the new ones aren't as appealing to the eye. Also needed- a new sleepsack for the the next size up. 

FA is obsessed with tags and so a taggies doll is very appropriate. Also, very into anything that might look like a phone or computer- hence the pink tablet. My, she has learned quick! We also think its a great time to go ahead with the pink trike that she can grow into. So cute.

Fun stuff- a power wheels jeep for my boy {they come with remote controls for parents!} although the one that we ordered is now showing up as $900 which we def did not pay! He also is getting an amazon fire from Mimi and Pop Pop. He has always loved vtech toys and we get a kick out of that cute voice on everything! This play doh set is a great deal too!


kiddos


Wednesday, March 30, 2016

How to Make A Double Campaign Chest

Thanks so much for all the love on my campaign dresser + gingham drapes post yesterday! I am literally obsessed each time I walk by Weeks' room and it makes me smile to see it coming together! So, I am glad y'all shared in my enthusiasm and appreciation for the space so far..thank you :)


Today I am going to run over the quick steps of how we accomplished the Double Campaign Chest. I had been itching to use the Young House Love hardware on a piece of furniture, and as I did a little brainstorming I decided that the Ikea Rast was the perfect piece!  We've all seen plenty of transformations on the Ikea Rast, so it's not reinventing the wheel or anything...however, it did turn out pretty good. And since I like to see steps, I did a simple documentation of our process along the way!

First, assemble your Rasts. I planned on doing it myself and Stephen couldn't resist helping me. He was surprised that they were actually made out of wood and not a fiber board :)

Next, we attached them together. First, Stephen used some wood glue on one side of the dresser and attached them side by side. The glue is a little extra reinforcement to keep them in place and also make sure it is firmly secured throughout the whole dresser. Then, he used wood screws to screw the two pieces together, as seen below... You want to use a screw that isn't too long that wont poke through the other side. {I believe these were 1 1/4"} He did 6 screws all together: top and bottom of dresser- 2 in the front, 2 in the middle and 2 in the back. You will need to remove the drawers for installing the screws. 


Once the two dressers were attached, we could tell it was a solid unit and were pleased with how easy it was so far! Here it is, now one unit.


One thing about the Rast I have never been too fond of is the way the sides are taller than the top of the dresser. I knew it would drive me nuts not to have a completely flat surface, so we then attached a piece of wood, cut the length of the top of the dresser.  We used a piece of good quality pine, adding a little more wood glue on pieces that touch to attach it to the top of the dresser. More wood screws securely attached the top board to the dresser, so it now looks like this:


Next came the finishing touch: the trim piece! I knew I wanted to do this because I saw how nice of a look it gave our living room bookshelves. We used a piece of trim on the three sides to provide a finished ledge and fill the gap you see above. In order to do this, you would need to make miter cuts and have a nail gun to attach the trim.


Next comes the part that makes it look like a quality piece of furniture. I used wood putty to fill every crack and nail hole. You also want to fill the holes that the provided knobs were supposed to go in, if you are using the campaign hardware. Once that is all dry, sand away any rough patches. You are ready to paint! We primed it, lightly ran over it with a sanding block and then it got several coats of Valspar Furniture Paint, in Simply White.

The finishing touch is of course the Campaign hardware. It was a little tricky for me to get each piece positioned just right. I learned quickly Stephen needed to pre-drill the holes for all the corner pieces in order for me to get it right. He saved the day with pre-drilling those holes, thank goodness.


I couldn't be happier with how it turned out, and am so happy we pulled this one off {painlessly!} Let me know if you have any questions, I am happy to help :)


Tuesday, March 29, 2016

Double Campaign Rast + Gingham Drapes

So we made some real headway on Weeks' Big Boy Room this weekend, such a relief! Today I want to share this side of his room, now adorned with navy gingham and a double campaign chest {ikea} hack. 


I could not be happier with how the campaign chest turned out. I did not want it to look like a DIY piece of furniture by any means, ideally I wanted the real thing! With a few small changes to the Ikea Rast, we were able to get pretty darn close to what I envisioned all along. I couldn't be happier- it might be my favorite furniture piece I've ever worked on! 


The hardware really upgrades the look of course. I love that we have six additional drawers for storage- something that the nursery lacked as Weeks got older and those clothes and toys got bigger! 


The bookends are from the nursery but they are still perfect for a little boy. For now, I grabbed a lamp from another room until I decide on something more permanent. I was thinking a set of smaller lamps on each end, possibly. And, I just found the soft basket a few days ago at Ross, and piled a few books in there for now. The artwork is a print from a local festival that is held locally every October- Stephen has had this print forever and I even remember seeing it in his college room! I had it re-matted and painted the frame gold last summer. After seeing it done I always held it in the back of my mind for Weeks' future room!


I did the drapes myself {whew, big sigh of relief they are done!} and I'm in love. I went with a back tab style, with a blackout liner since this room is incredibly bright some days.


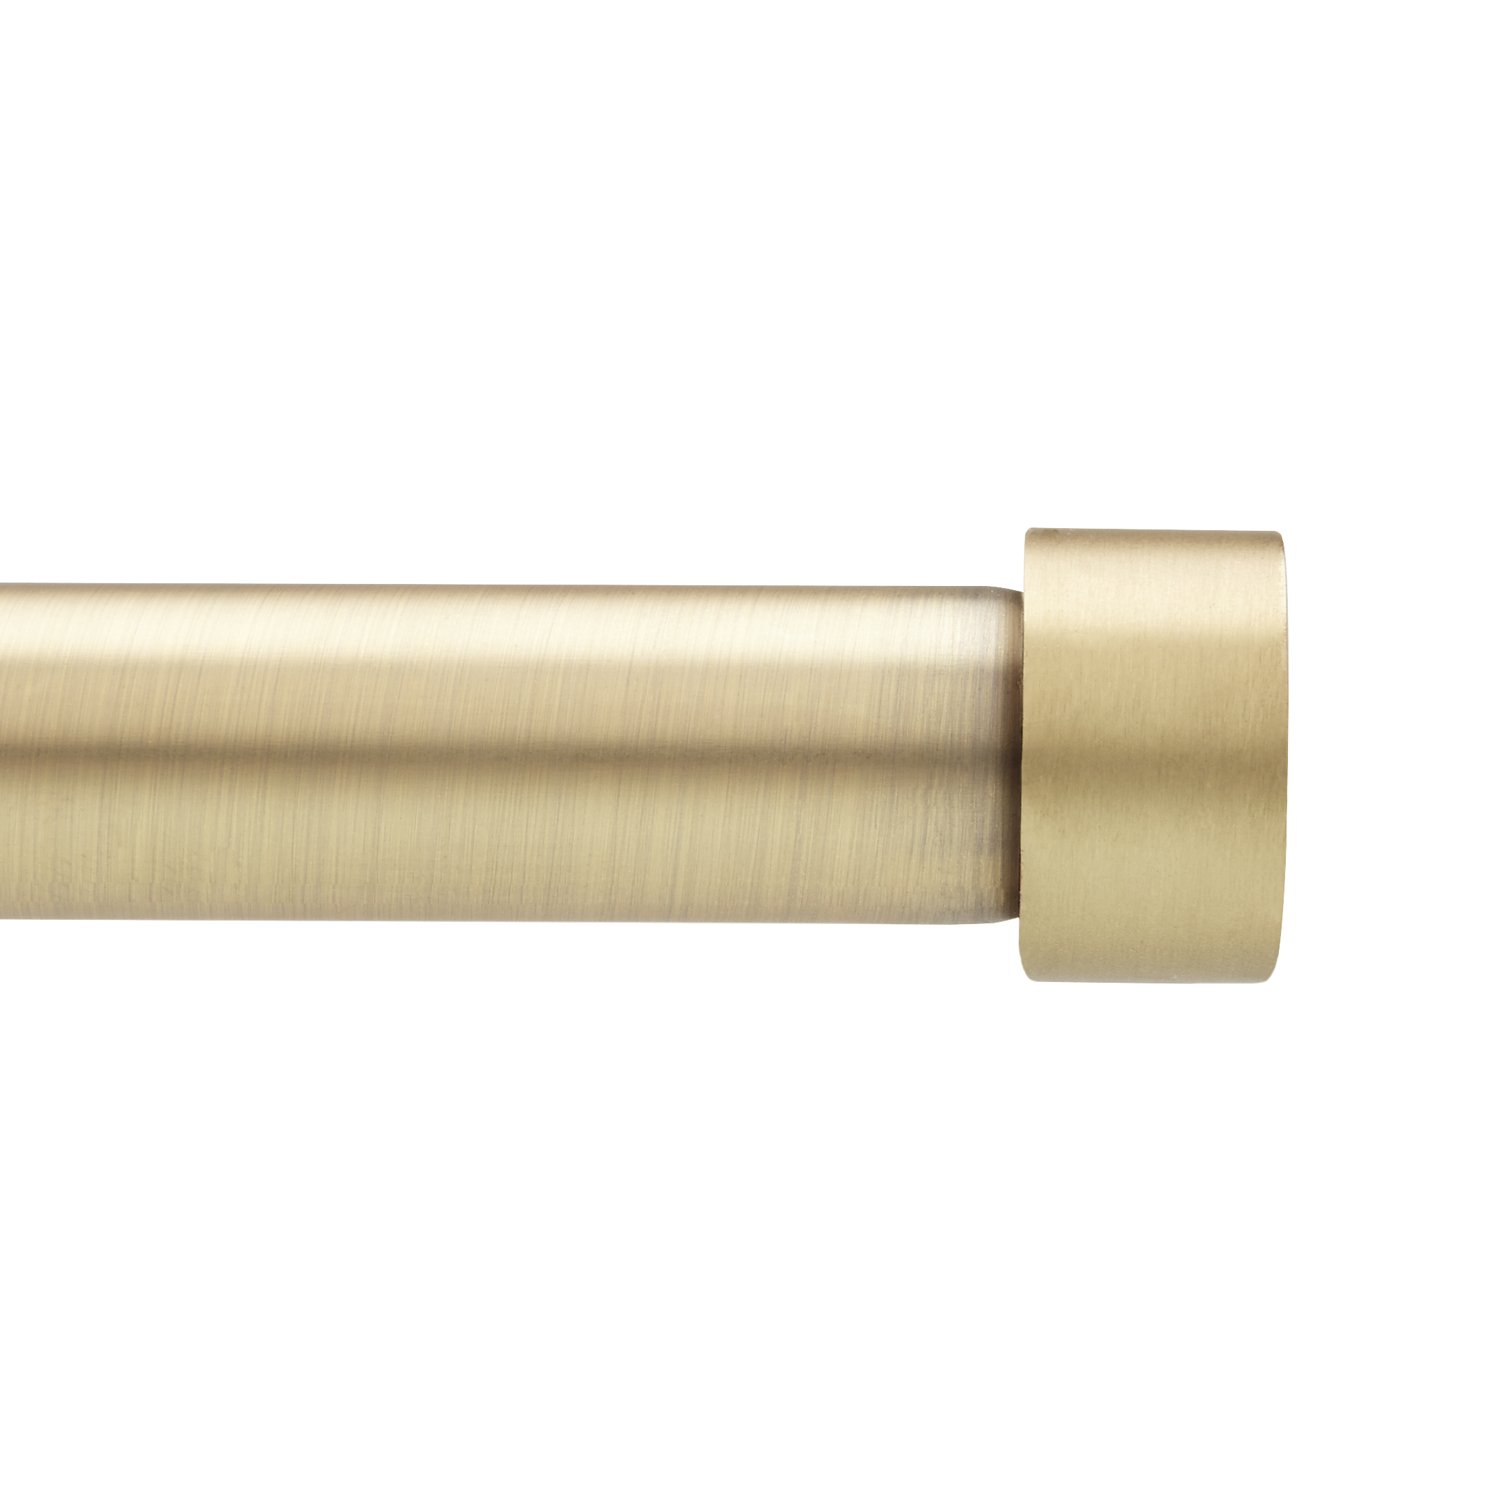
Here you can see the rod that I found which was a steal compared to the original inspiration rod.


I followed this tutorial if anyone is interested in this style drape- it was fairly easy, I have to say!


What do you all think? Next on the list for the Big Boy Room: Stephen is building the bed and we have to remove all excess furniture and accessories. His dresser will be here next week. Then we can really move him in his new room! 

I'll share the details of how we did the Ikea double campaign rast tomorrow!

Thursday, March 24, 2016

This and That

A few things around here lately...

I got these {maternity} shorts from Loft and they are amaze {shop them regular size here!} I mean, I usually wouldn't even wear black shorts, and I love them! They are a flattering fit that is smooth and a great length- not too short, and not awkward long. They are 30% off and sizes are selling fast! I went to buy the coral as well and they were already sold out in my size. Shorts are so hard to find, and I usually just throw in the towel before finding a pair I actually like. Side note, I also got this sweet ruffle top, and this shirt I mentioned in this post. Both are keepers and great deals! 


Shown below in the regular/non-maternity version:


I made this cake last night! It was news to me that Krispy Kreme made a cake mix- my parents brought it in town after hearing about it, and after they couldn't find it in the grocery store my Dad actually purchased it on Amazon. I'm guessing it's more expensive online than if your grocery store carries it, but it was fun to try it out! My opinion on the cake- tasted so great! Super easy to make and just enough sweet with the glaze. I don't think it was identical to a KK donut, but it is a cake, afterall. And I would bet it would be perfect with morning coffee/tea! Yum. I think it would be fun to bring to a shower/luncheon...not only is it delicious but also, something to chat about!


The drapes for Weeks' new room are coming along- basically I have to hem them and we are done! The rods came and I love the finish- they are matching up perfectly with the brass campaign hardware on the ikea rast hack. I will have those reveals next week for ya!


Friday, March 18, 2016

Big Boy Room Update

We are finally starting to get some things accomplished for Weeks' Big Boy room, which feels so nice. That is totally necessary in order to get the nursery empty enough to start on it. I feel like we are really behind and it's time to kick things into high gear!

First off, I hit some snags. The one inch check that I fell in love with was backordered until late February and I patiently waited. Then it was changed to early March. Then mid-March. Then pushed all the way back to mid-May! Ok, so that just won't work. I also tried searching everywhere I knew how for this fabric and it was out across the board. 


Onto plan B. I decided I would go with the smaller 1/8" check in the same colorway. While it isn't quite what I imagined, I still love a tiny gingham and I'm hoping these things work out the way they are supposed to! The fabric arrived this week and it is my goal to get them done this weekend. I had planned on having them made but I have decided on a fairly simple, relaxed style and it makes more sense for me to do it instead of paying and waiting...


When I was ready to buy the rods, the West Elm version I originally fell in love with was sold out, now it appears to be back in stock {go figure} so I frantically searched for something similar. I stumbled upon this simple rod and didn't even realize how similar it was until I placed them right next to each other. I have ordered the look for less, and hope it works out. The main difference to me is the finish, but it is so hard to tell shopping online anyway what either will look like in person. If the less expensive version doesn't work, I will just go back and order the original! They should be arriving soon.

INSPIRATION: here


FOR LESS: here or here {on Prime}

Weeks got his new sheets, duvet cover and comforter for his birthday! Now all we need is his bed! His dresser {my Dad's old chest on chest} will be getting moved from Raleigh in the next few weeks, hopefully.

Once we have these big things in place I really feel like we can sort the rest of it out, get things in place and see what else needs to happen.

I also have had the Ikea rast hack finished for several weeks now, but I am waiting to have the drapes hung for the reveal! It turned out sooo good and I love. Definitely worth a little effort to get the campaign look! 

Keep your fingers crossed for me that the drapery panels will go smoothly this weekend! 
xo.

Tuesday, February 16, 2016

Big Boy Room Plans

The time has come y'all...I can't believe my little baby will be transitioning over to a Big Boy room! I have thoroughly enjoyed his sweet little nursery for the last three years, and I want to give him an equally as special "Big Boy" room. Things are kind of up in the air because he will be totally switching rooms into the larger size bedroom, and that room is currently full of our stuff, other furniture, odds and ends. I am chipping away at it little by little to make room for him, his clothes{so many!}, toys {even more!}, and his furniture that we will be using. If I make one more trip to the thrift store to donate...whew! ;)

Here is what I have come up with so far: 

Big Boy Room Design


As you can see, a mix of patterns and some gold and neutral tones. The check will be the drapes, with a brass rod and I am oh-so-excited about those. Side note, if you have sourced a ready made drape in a 1 inch navy check, holler at your girl. It would be so much easier than getting them made or making them myself, by all means. I am so smitten with those sailboat sheets and I can see that sweet mop of blond curls on them now! The chambray will be the duvet cover...so classic boy to me. I think my brother might have had a chambray comforter growing up? If you follow me on insta, you saw the Ikea rast campaign sneak peek. I love that this will be a great source of storage. Weeks also has a three shelf bookcase that I would like storage bins to line it and be filled with his toys. The numbers are cute, right? A fun magnet board at his height will be super sweet. 

Not pictured are his bed, dresser, and possible nightstands; which will be a mix of white and wood tones. Stephen is planning on building Weeks a double bed, something sort of farmhouse style. We haven't begun that project yet. The dresser I am hoping to get from my parents- my Dad's old dresser that he isn't using anymore. It is a classic chest on chest style and I hope that works out. We also have a nightstand from the nursery we can bring in as well, with a fresh coat of paint.

That is it so far but I am loving the direction we are headed! So much to do, but I am so excited about this room for our darling boy.