Showing posts with label flowers. Show all posts

Monday, March 27, 2017

Grocery Store Flowers + Ginger Jars


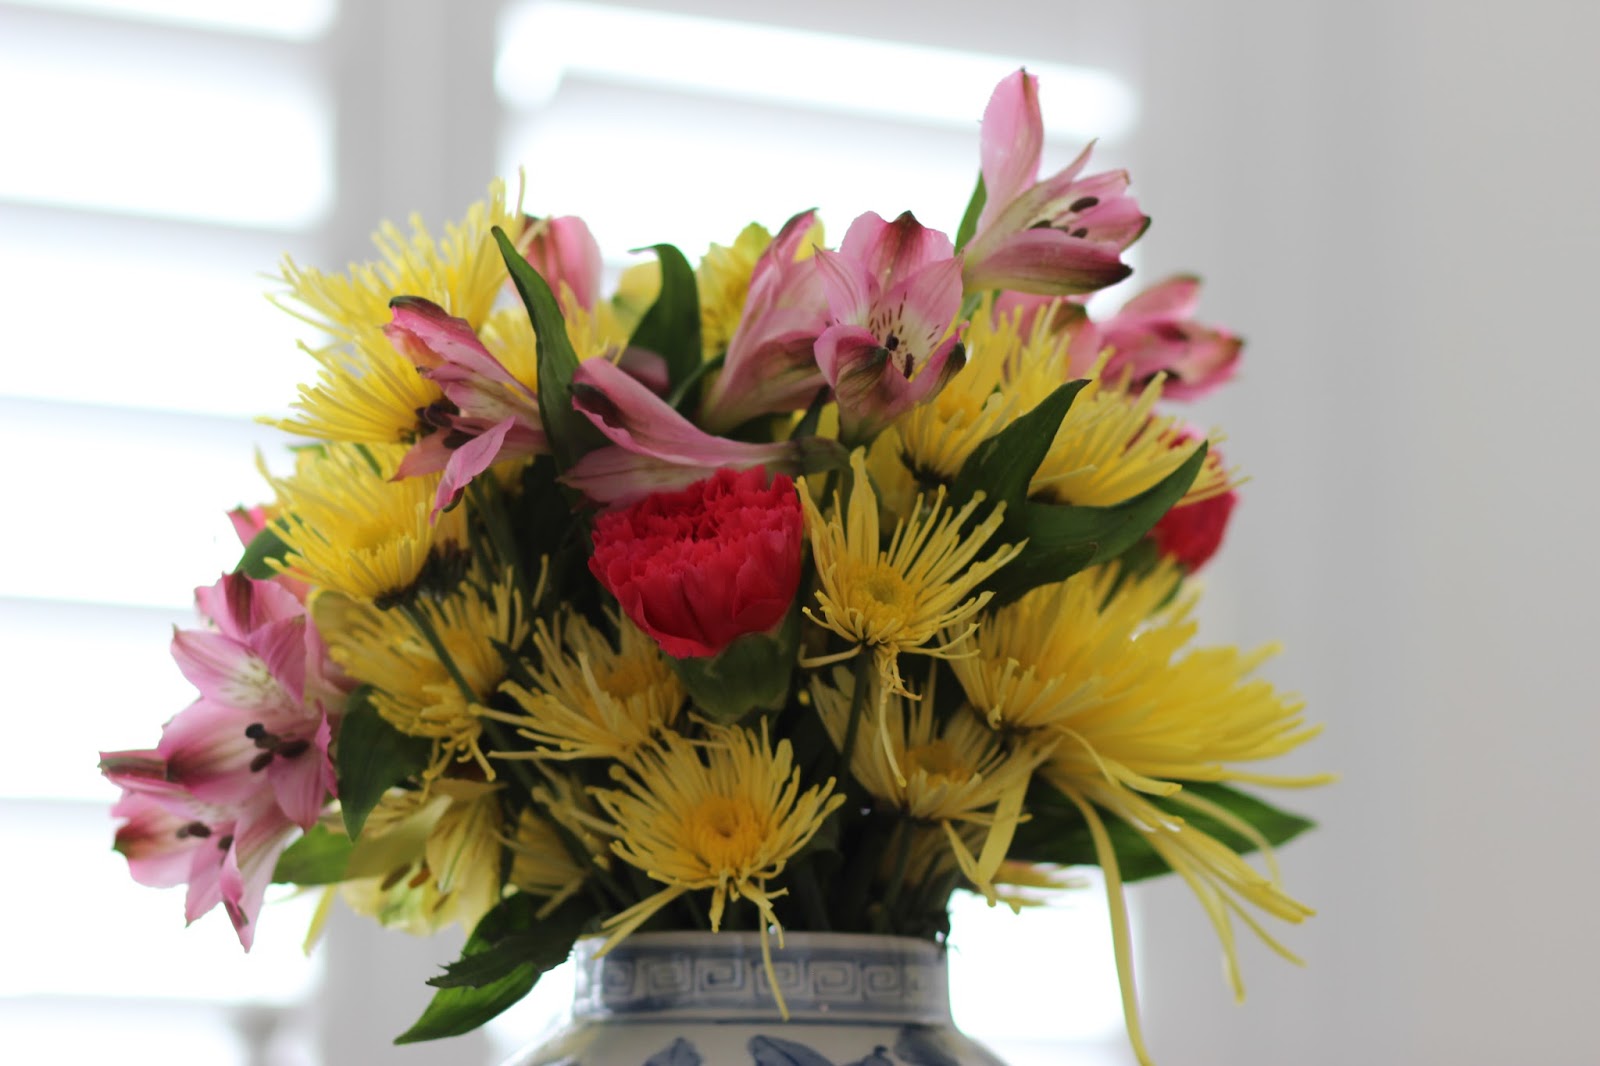
I saw an instagram post from The Pink Pagoda {a favorite of mine!} that got my wheels spinning on the way grocery store flowers take on a sophisticated look when paired with a pretty blue and white vase. I know I've done it many times before, but I wanted to search for inspiration photos to keep in mind next time I am at the grocery store! I took a big chance and ordered a "wildflower" bouquet on my online grocery order on Saturday and ended up with a decent pink and yellow bouquet. I immediately trimmed them down so the blooms were close to the edge of the lid of the vase. I think cheaper flowers like these look better in a tight form with out much stem showing...


Here were some other inspiration photos I found, all with flowers you can easily find at your local grocery store. Our flower departments really don't have a ton of selection, especially this time of year, so I just included the staples most stores will have...

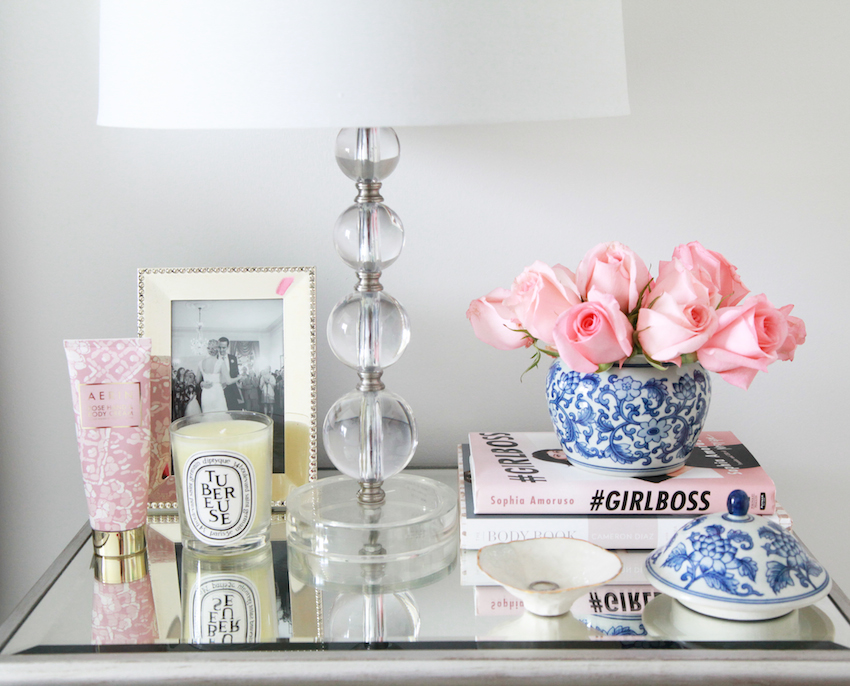
Pretty pink roses always pair well with blue and white. I love how the low jar makes it seem a little more casual yet still beautiful.

The contrast of yellow with blue is an eye catcher. Grab about a dozen and half tulips for this arrangement.

source unknown

Use several different flower varieties in the same color family in a mix of jars for this look! Makes daisies even look pretty. 


My all time favorite- hydrangeas! Sometimes these are a little harder to find and trickier to keep perky coming from the store. Buy them the day you need them for a table setting or party...


Another pop of yellow against the blue in the form of spring branches...


Hope y'all are inspired!

Tuesday, June 10, 2014

Flowers For Your Tuesday + Photography Tip


Just bringing you some gorgeous blooms for your Tuesday! I picked these last Friday over at the beach. The hydrangeas must love some salty air and seaspray because they just look amazing and have hundreds of blooms on each plant. 


I just wanted to snap a quick photo of them but once I saw how pretty they looked on my camera I kept taking more. The light was streaming in our kitchen window (major plus) but our table was cluttered (always) with magazines and some white poster board from our yard sale on Saturday. I couldn't help but notice that the white paper (especially in the first photo) bounced the light off in a really pretty way giving the prettiest glow. I didn't edit these one bit. Granted, my 50 mm lens did most of the work for me. It's my fave. I gradually removed all of the white from the table in the progression of these photos. (The top being the very first photo I took without removing any white from the table)


Below, I removed all of the white paper and magazines. While this last photo is still pretty, there is not as much glow especially on the green leafs. Just a fun idea to play with next time you want to snap some photos. PS I am no pro by any means but I do love taking pictures.


Have a wonderful day y'all! 

Monday, September 30, 2013

Raleigh Farmers Market

My Mom and I paid a visit to the Farmers Market this past week. Last year, we did the same thing and I found the best mum I have ever had. That alone made a trip this year in order! I absolutely love the Farmers Market. If I still lived in Raleigh and was close enough, I would go at least once every week. The variety of fresh vegetables and fruits is so amazing. I want to try everything. And the vast array of plants is just way to tempting for me. It would actually be really dangerous for me to visit the market very often. Lowes x 100 for me there. I found some awesome plants and I will share later this week! 
Here are a few snapshots of our morning!

Apples that my Mom made into an an amazing Apple Cake...

Gorgeous flowers. Bouquets for $10 or $20. Unheard of! 

Mums for days....

My favorite shade of pumpkin in the cutest size!

SO big and fun!

My Mom got a gorgeous arrangement of flowers for the kitchen that was so pretty to look at all weekend long. I was amazed that they had such a large arrangement for only $20. We saw one stem we thought was looking rather weak and the worker traded it out for a larger, prettier stem that we asked for. We also grabbed some salsa and fresh tortilla chips (with no salt! bonus!) which were so amazing. Now you all now I love some Mexican food- the salsa by Yah's Best was so good. We tried the sweet heat salsa and I highly recommend!

What are your favorite Farmers Market Finds?

Monday, November 12, 2012

Gardening and Drinky Drinks

How was everyone's weekend? I hope it was fabulous! A few things on my radar today...


Before my opportunity passes me by, I am going to plant some bulbs with hopes of a bright and cheery Spring ahead. Since we are in the coastal south, we still have some time to plant {at least I'm hoping}...I have planted in November before so fingers crossed it works again.

This year I am going to try tulips! A first for me, let's see if they grow! For anyone who has not planted bulbs before...you must, it's the easiest form of gardening. See link above for bulb planting tips. {If you missed my post on paperwhites for the holidays, check it out here} Plant now, forget about them, and then see them pop up in the Spring. It's wonderful.

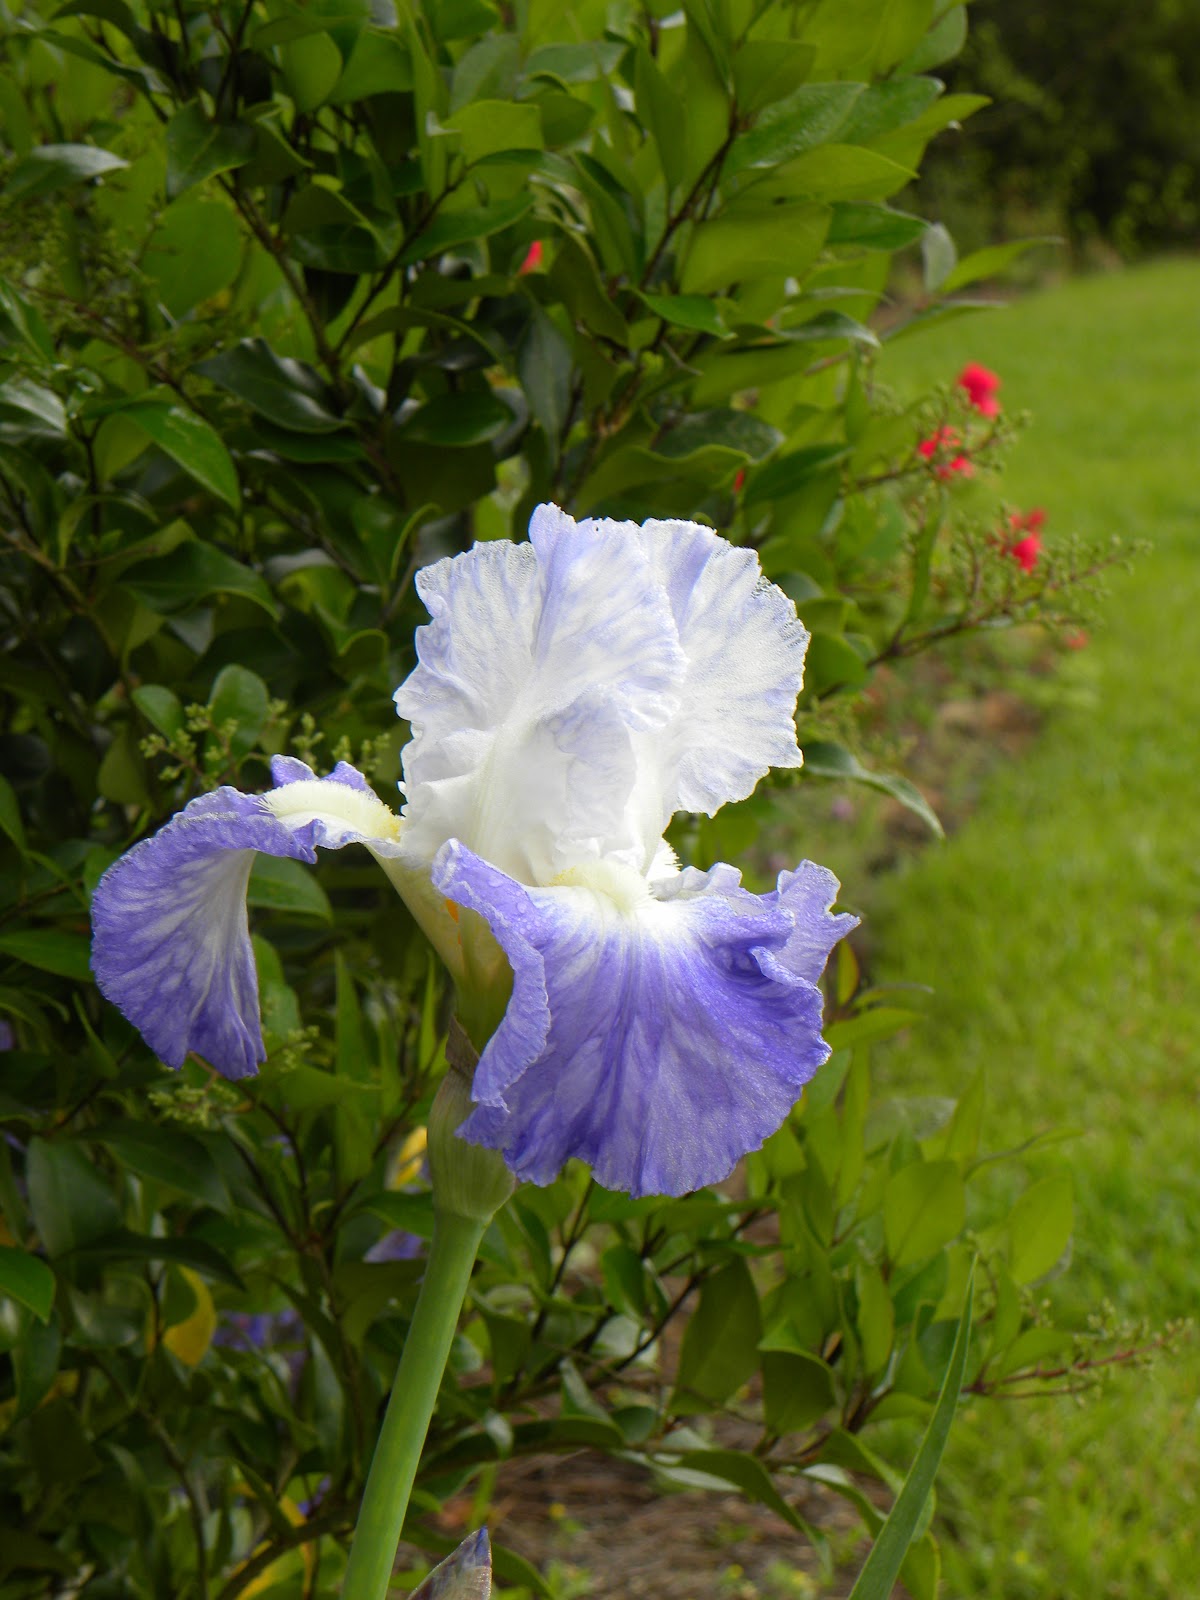
One of my irises from the first year I planted...


Since we are near to ringing in the holidays, my pregnant mind can't help but be jealous of all of the holiday cocktails torturing me on pinterest. So. I decided to search for mocktails and look at this beauty I found.


That would be delicious looking. Oh, and this cranberry cutie. Yum!


Recipes found here.

And since we are on the subject, here's what I like to call a Katie Cocktail. My specialty these days! I have made several of these, and I drink Sprite like it's my j-o-b.


Mix even parts and pour!


Cheers! Happy Monday y'all!
xoxo.

Wednesday, November 7, 2012

Forcing Paperwhites for Christmas

Last year was my first time growing my own indoor paperwhites and I loved it. Now is the time to start these! A new tradition for our home come holiday time. In case you haven't forced paperwhites, I took a few pictures along the way so I could share with you all. Even those with a black thumb can grow paperwhites- promise!


Here is what you will need:


-Glass containers or another container you wish to use
-Rocks 
-Paperwhite Bulbs


I buy the rocks from the Dollar Store. Since I'm using glass containers for these, I stick to natural/white stones to help hide the roots that grow.


Fill your containers about 1/3 of the way full with rocks.


Nestle the bulbs down into the rocks with the sprout end pointing up. I use containers that fit at least 2-3 bulbs each for a fuller arrangement.


Fill with water until the roots of the bulb are touching water. Set them aside in a cool, dark place until the roots begin to grow {this usually takes about 1-2 weeks}.
After your roots have grown, place them in a sunny spot and watch them begin to grow. They should be blooming within 6 weeks.

via

Some tips for growing your paperwhites: 

I check the water level every few days to make sure the roots are wet.


If your containers are on the short side, you may need to tie a ribbon around them to keep them upright. Even though they fall when they get heavier/taller, I love the effortless holiday look it can bring. 

via

While you are at the Dollar Store grabbing your rocks, pick up some moss.
 I cover my rocks with moss once they get a little taller.

via

Do you grow Paperwhites for Christmas? It's fun to have something to watch grow this time of year when nothing else seems to be blooming.

Enjoy! xo.

Wednesday, August 15, 2012

No Fuss Drying Hydrangeas

Last week when I mentioned my dried hydrangeas in my laundry room post, I had a few questions on my process. I have tried a few methods in the last few years, but the easiest method I have found happened accidentally. Now is the perfect time for you to try this if you have hydrangeas in your yard! 

Your first step: assemble an arrangement of freshly cut hydrangeas in a vase of water. I learned that at this point during the year the blooms have had time "dry" out a little bit so they aren't full of moisture like they are early in the season. The less moisture = the better your dried flowers will turn out. In this photo, you can tell the faded blooms are older than the vibrant blue and pink that are newer.

Next step: Enjoy this arrangement! This arrangement sat on my coffee table for at least 2 weeks, which is about the perfect amount of time for these to completely dry.


This is a close up example of an older bloom. The color at the beginning of the summer was bright blue and it gradually faded into these pretty shades of green and pink and blue. The feel of these petals is slightly dryer to the touch and has the antique look to it. This makes the perfect bloom to dry.


The two green hydrangeas below also made great dried flowers. The bright blue {new bloom} in the center was one of the first to wilt and be thrown away. I let mine sit in the vase with water for a few weeks and let them slowly dry. Once they become crisper to the touch I let them sit on a paper towel until I was ready to arrange them.


Now how easy was that? The only work here was clipping them from your garden and arranging them in a vase {one of my favorite things to do!} For more details on this method, you can read here.

I have also experimented with drying hydrangeas in a silica gel that you can buy at Michaels. I had pretty good results...but to me, this is so much easier. For more info on that, see here.

Now, here is what they look like today.


Have you dried any hydrangeas from your yard? I love having them around in the fall, they are the perfect tones for adding subtle color while transitioning into the cooler months.

PS- Linking up to Hi Sugarplum for projects that fall into that fun category of "In About an Hour"...check it out for more easy + fun things to work on this weekend! 

xoxo.

Monday, February 6, 2012

14 Days of Things I Love: Hydrangeas

Hydrangeas are hands down, one of my favorite flowers. Right now we have about 10-12 in our yard {hoping that they all come back this year after the hot dry summer last year}. When we were planning our landscaping for our house, my thoughtful husband planned a hydrangea bed right outside our bedroom window. He also surprises me with them on occasions, where some might get a bouquet of flowers- I get the whole plant! ;)


One of the things I love most about this flower is the names. This variety is called "blushing bride" which really fits well. White with a touch of pink. My parents gifted me one of these in a pretty planter the day I got engaged.

{via}

{via}

{via}

For those of you that may not have hydrangeas of your own, you should consider these just for the simple fact that they make the most beautiful cut flowers. I bring mine inside all of the time for large, pretty centerpieces on our table or bar.

{via}

{via}

{via}

Since hydrangeas are near and dear to my heart, I knew they had to be a part of our wedding day. The bridesmaid's bouquets and centerpieces all had hydrangeas in shades of blue. I also chose a hydrangea cake topper that our cake maker made with gum paste so we could keep it. We still have it and it sits under a dome on a cake plate in our dining room! It is beautiful. 

{my personal photo, please do not use with out permission}

My mom also has the most gorgeous hydrangea garden with tons of varieties, but that is a post for another day when they start blooming! Do you have a favorite flower that you love? Hopefully this post brightened your morning just a little bit! Can't wait for these beauties to start blooming! 
Have a wonderful Monday. xo.