Tuesday, October 31, 2017

Fall Into The Holidays: The Bedroom


This week we are back with another post on prepping ourselves for the holidays ahead. I have to tell you all, I plan these posts ahead (hence, why I was able to do the post last week when my son had just gotten out of the hospital from pneumonia!) so, I have had plenty of time to soak up that new pantry. Let me tell you, that little pantry is our #bestlittleprojectever. It wasn't overwhelming and it made the biggest impact in our kitchen, we are positively obsessed. Anyway, thats what this series is all about. Take a little thing and make it worth its weight in gold!

This week we are tackling the bedroom, and I have to admit, I was a little stumped at first. In years past, I would change a few throw pillows out on the bed, long after I finished decorating the tree and prepping the downstairs. Our bedroom is almost always an afterthought (something we are slowly changing, bit by bit!) not only for seasonal, but for just everyday life.  I have never been able to settle on the "perfect" design for it, so I have decided to go the slow route and do it bit by bit, piece by piece as it all comes together. You know you need some decor in your bedroom when your husband says "Can we hang some stuff on the walls?" ha!


After being stumped on what in the world I would do, I had an a-ha moment on the most simplest of things to do. This "project" won't take you five minutes and will leave your room feeling so much cozier.


I love the idea of bringing the outdoors in, with greenery, flowers, branches and plants. I do this all the time downstairs- in the kitchen, breakfast room, living room, you name it. I realized I would love to add that element into our bedroom as well- enter the boxwood wreath! These are a great size for a standard window. I just grabbed one of my favorite ribbons from my rather absurd ribbon stash to hang them on. It's not too Christmasy- but definitely perfect for the season to come. If you want to go ahead and hang a wreath in your home now, I would recommend choosing a ribbon in festive colors with out bold prints- something you can stand to see for the next few months :) Instant charm, and instant cheer for the holidays to come!


On the main window, I hung the wreath right from the drapery rod. Our other window is a dormer, and this wreath makes it the cutest little corner ever! We just hung this one right off of a nail.


I want our master to feel airy, fresh, relaxing and clean. This tends to make me gravitate towards lots of shades of white. Adding in the greenery from the wreath warms it up a bit, along with our sweet little gingham sheets! Can't get enough of those. I swear they make the best sheets! I think they lend themselves so well towards the current season too- Christmas they are perfect for red/green festiveness...spring and summer they work great with coastal and floral pairings! The embroidered pillowcases were an estate sale find. I kind of feel like granny-chic with them but I adore embroidery! Don't think I am really old and outdated ok? ;)


At the foot of our bed, I keep our down duvet and this throw blanket that is perfect for keeping warm in the cooler months. Actually, I take that back- I use this throw every single day of the year it is THAT good. Put it on your Christmas list! Not only is is soft but it is so warm and cozy, and is machine washable. In the summertime I just prop it over my feet! 


duvet // throw (find similar on sale here) // bedding

One more thing that I love to do while getting ready for the holidays, or every few months... clear. the. clutter. We are prone to it,  won't deny it. We just got these refinished nightstands about a month ago and still had not taken the time to organize them. I moved my most frequently used items off the top of the nightstand into the top drawer- pen, notepad, journal, devotional and latest book. I'm glad I actually took a few moments to clean up my nightstand, the results are worth it!


I really enjoyed sprucing our room up a bit in the most simplest of ways. Lisa, thank you so much for asking me to join in on this :)

Don't miss these fun posts this week:

Lisa of Shine Your Light
Pam of Simple Details
Julie of Less Than Perfect Life Of Bliss
Jennifer of Dimples & Tangles
Shelley of Crazy Wonderful
Becky of This Is Happiness

Thursday, October 26, 2017

Fall Into The Holidays - The Kitchen Pantry

Hey friends! If you follow me on instagram, you saw that my sweet little boy was in the hospital this week for pneumonia. Never a fun time in the hospital, but we are so thankful to be home and so thankful he is on the road to getting better! I wanted to say thank you for all the prayers, comments and messages that truly lifted my spirits. Thank you, thank you.

I had planned on being a part of this fun series but had to bail for good reason at the last minute, so I'm linking up my post now. Lisa from Shine Your Light asked me to be a part of this series a while back and I knew it would be such a good motivator to get ready for the upcoming holidays. No matter how much I plan, they always sneak up on me and leave me saying I'll do it next year! For the next several weeks a talented group of ladies is sharing ideas to get you ready for the fun season ahead! This week we are kicking it off in the kitchen! 


Lisa of Shine Your Light • Pam of Simple Details • Julie of Less Than Perfect Life Of Bliss • Shelley of Crazy Wonderful • Becky of This Is Happiness 


Last year, when we moved in our home, we focused on a few things we wanted immediately improved in the kitchen- new cabinet doors, new appliances, faucet, lighting, hardware- all the good stuff! Our kitchen turned out just the way we envisioned it, which was important because we spend a lot of time in it. One thing that got pushed to the wayside was the pantry. We sort of did the whole "stuff things here and there" with out much thought into where things went. I knew when Lisa asked me to participate in this fun series, I had to tackle our pantry once and for all! It was embarrassing to have any guests over if they asked where the napkins, crackers, birthday candles were...most of the time I didn't even know the answer to where things were! I've shown you a sneak peek of the "after" now lets take a look at the SCARY "before"...brace yourselves.


My plan of action was to pull everything out. Yep, it all has to come out. We had almost two trash bags full of expired food, or food that I had bought for the kids they ended up not liking, so they were just taking up space (i.e. I'm looking at you raisins!). Most of you won't need to go to this extreme, but we took organizing once step further in our pantry and changed out our shelves for a shallower depth. Ours were way too deep at 18" and 20", which inevitably means things got lost and stuck behind other food. Stephen kept the same support system from the original shelves and switched out the shelves to 12" depth. We also added one more bracket on each shelf for more support and no sagging, which we had before.


When I began to plan my pantry, I did a lot of searching on The Container Store and was smitten with so many of their organizational baskets, but in the end I ended up doing some searches on Amazon and found similar products at prices that were a little more wallet friendly. I recommend if you are organizing your pantry you make a list of the main items you have, and then what sort of container you would like them to be organized in. I didn't want anything "loose" because I knew that would lead to clutter. Here were my categories:

Wire Bins for most frequently used foods with expirations
-Bread
-Fruit/Veggie Packs
-Chips
-Crackers
-Fresh Fruit
-Breakfast
Smaller Wire Bins
-Party Supplies
-Salad Toppings

Plastic Bins for bulk items (found at TJ Maxx)
-Overflow water and drinks
-Pediasure for my son
-Juice bottles
-Napkins/Cups/Plates/Plastic Silverware

Clear Pop Top Containers
-Cookie Cutters
-Pastas
-Baking supplies

Clear Shelf Bins
-Coffee/Tea
-Baking supplies
-Drink Mixes
-Dressing/Dip packages

There were a lot of items in the pantry that shouldn't have been in there that I found other places for in the kitchen...the mixer, serving pieces, recipes boxes, etc. This cleared out a lot of clutter as well, and made way for lots of organized storage.

Once I had everything in place, I was ready to start labeling! This part was so gratifying, by the way. I bought this pack of assorted chalkboard labels that comes with a chalk pen. It comes with 72 labels so you can say I am set with labels for a while! I'm impressed with no smudging so far. If you want to change the label, just wipe it with a wet paper towel. They also can be repositioned and moved if you need to as well. The chalkboard clips on the baskets came from Michael's and tied it all together! These wire baskets were such a great investment for our pantry. Side note- the sides flip up so they are actually stackable in case you need that as well. We don't need that option but I love how my essentials are so accessible.


I have collected most of the OXO containers and the clear shelf bins for a few years, I just never utilized them in the right way. Most of mine I found at TJ Maxx and occasionally would buy a specific container or bin at Bed Bath and Beyond with a coupon!


Wine Bottle Holder that works great for Large Water Bottles


One of my favorite tips- a large mason jar for corralling cupcake liners!


Once I had everything organized it was easy for me to see what I had and what I might need for the upcoming holidays. I like to make sure I have the ingredients for some of my favorite holiday recipes on hand in case I have a few extra hours for baking. Hiding deep in my old pantry was a container of baking powder that I searched for a few weeks ago and never could find! And this is why I needed to organize this mess!

A few commonly used pantry essentials I made note of:
Flour
Sugar
Brown Sugar
Chocolate Chips
Salt
Vanilla
Baking Powder
Baking Soda

And, since I am already thinking ahead to some of my family favorite recipes, here is the link I have shared in the past: Christmas Apps + Sweet Treats where you will find recipes for Buckeyes (seriously, best sweet treat ever), Oyster Crackers (don't blame me when you are shoveling handfuls in your mouth during Happy Hour..they are addictive and so good) and my favorite cheese ball!

This was such a gratifying project, I can't even describe how good it feels to have organized our pantry. Thanks for reading and following along! Join us next week as we tackle the bedroom!

Wednesday, October 11, 2017

Retail Therapy- 40% off JCrew Faves

I was going to share this tomorrow, but I just saw that this sale ends tonight. J.Crew is offering 40% off some really cute pieces for fall and I listed my five favorites below!


This sweater is so pretty, I especially love the off white and the violet color, although they are all pretty!


Hello, new sweatshirt. You will be cute with my leggings everyday! 


I love that this sporty vest is a bit more feminine with the floral pattern. Love the navy and fall colors!


I bought this last year in the tan color and loved it- I waited towards the end of the season when I could finally snag my size. I'm looking forward to being able to wear it once it finally cools off!


Never underestimate the power of a good ponte! These are so cute with the high waist and button!

Happy Shopping!

Fall at Home

Hey y'all! Last year this time we had just closed on our new home, and we spent the next few months moving, renovating, painting and so on. So, it's been a few years since I pulled out my fall decor box and I definitely paired some things down. I tend to do that each year since I never do the same seasonal decor twice! It's fun to have some space to add new things each year too. Today I'm sharing a few pics of our family room, and while this room is not complete I wanted to make an effort to show more pictures along the way rather than waiting until its done...because lets be honest, that might be a while!

The family room opens up to the kitchen which is directly behind these photos. Along the left side of the room is two sets of french doors and windows that lead onto the brick covered porch. Front and center you see the bookcases that need a good coat of paint and some tweaking in style. The right wall is pretty long and I have gone back and forth on how to fill that space. It's a great size room and we are in it every day!

For fall this year, I mainly used velvet pumpkins for some color. I have a huge bowl of them in the dining room that I forgot to photograph- but once I saw all the pretty, rich colors, I knew thats what I wanted to add in the family room too!


This sofa table runs along the back of our white slipcovered couch. It's definitely prone to clutter so I am constantly trying to pare things down here. These are my most frequently used cookbooks :)


This buffet used to be in our dining room but I love it in here! It still holds lots of serving pieces even though the dining room is few steps away. The Kate Spade lamps were a lucky find at Home Goods, found by my mother in law! I love the blush tone!


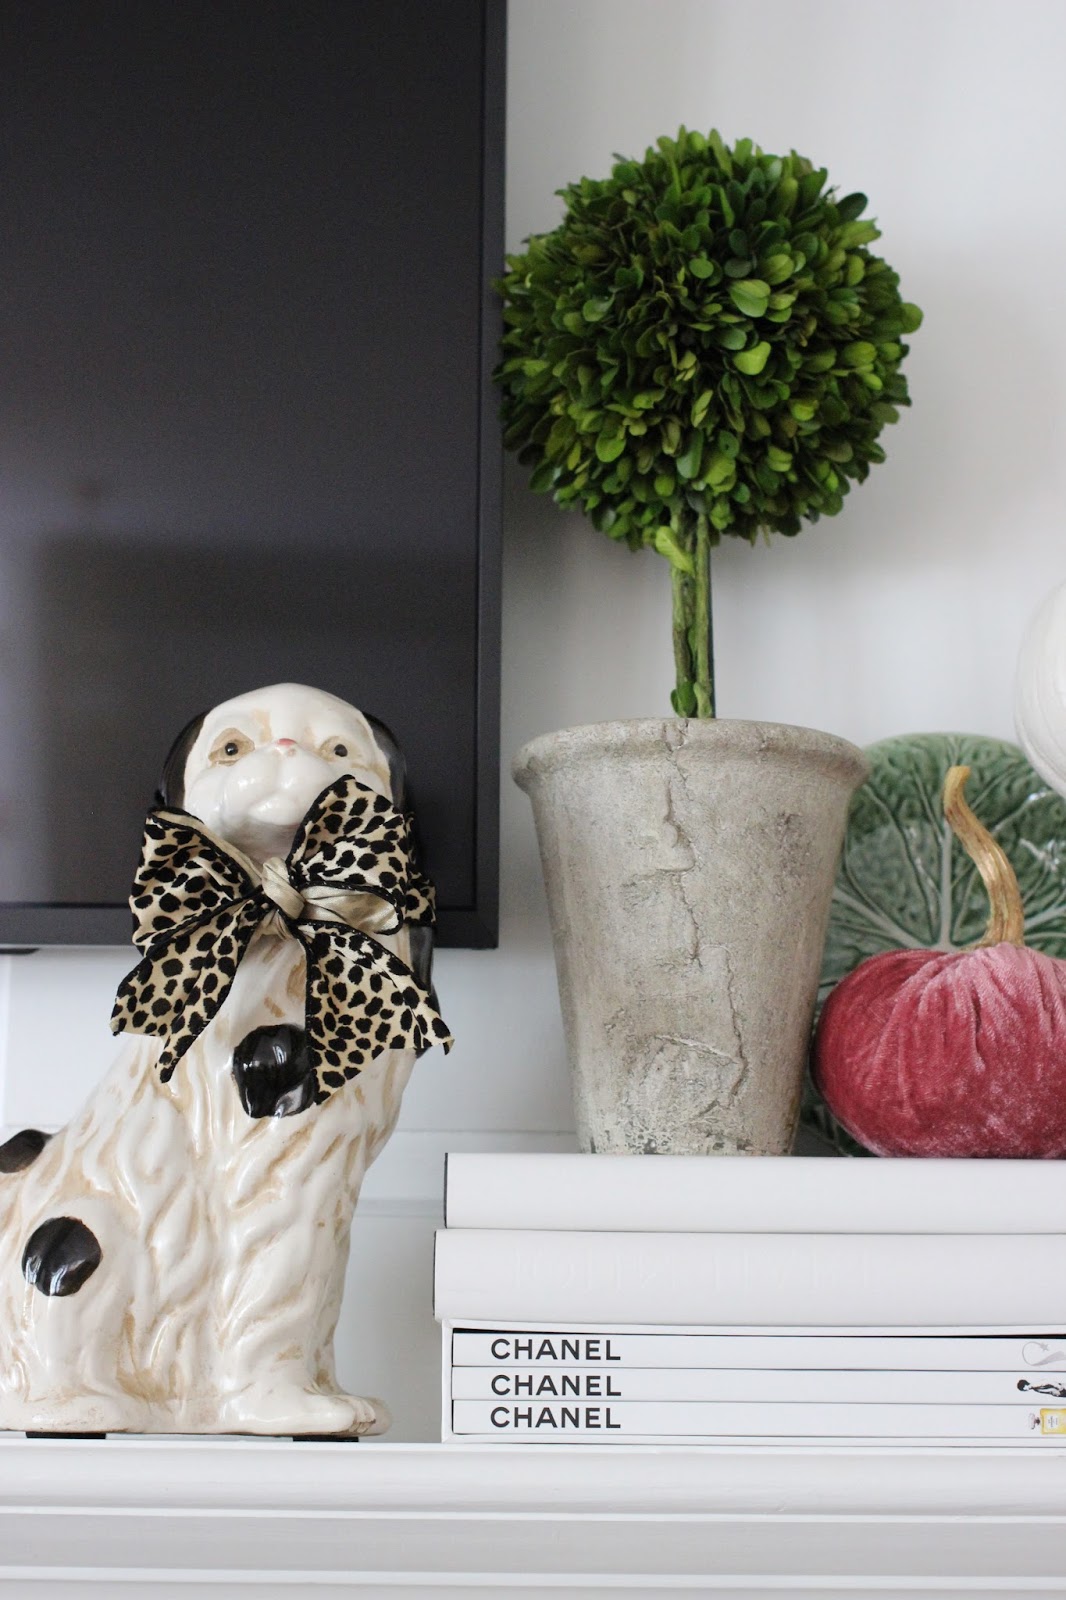
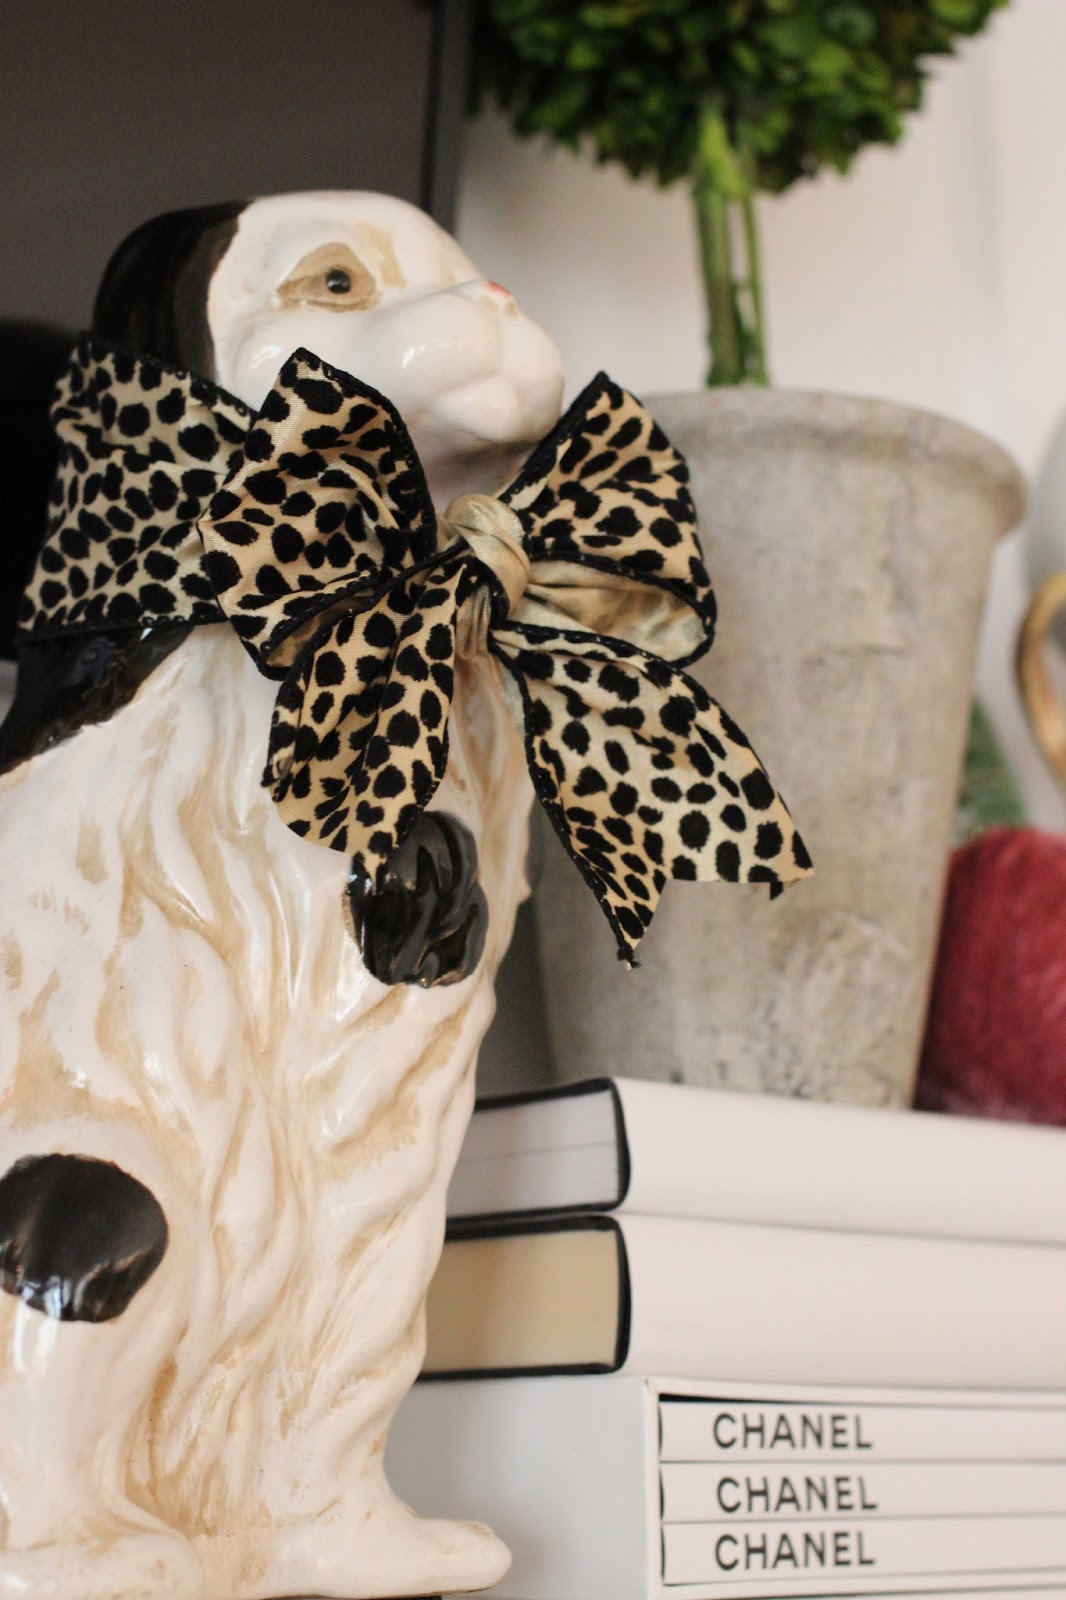
You will notice some of the photos my staffordshire dogs have a pink ribbon and some have a leopard! I really wanted to use pink and in person I thought it looked great, but in these photos it definitely looks a little off.


Sleeping beauty!


This camelback sofa was in the house when we viewed it, along with a few rugs and other items. We ended up offering to buy some of the furniture since we had similar taste to the previous owners! I will recover this, hopefully soon. I'm thinking a classic stripe.


As I mentioned, I have a huge bowl of gorgeous velvet pumpkins I have collected from our shop for the past four or five years. However, all the pumpkins in the family room I found at TJ Maxx this year! They are not nearly as pretty, are filled with a styrofoam and do not have original stems. But- a little gold paint on the plastic stems and I thought they were perfect for the family room! Little hands most definitely enjoy these pumpkins.


Hope you all enjoyed a little peek into our home! I'm looking forward to sharing more soon!