Thursday, April 30, 2015

One Room Challenge: Week Five!!


Good Morning and welcome back to the week before the final reveal of the One Room Challenge! I am astounded how quickly this rolled around, really. If you are just joining me, here is a quick rundown: we are busy transforming our hall bath that was in desperate need of updates. So far, we have re-done the cabinet doors, added new faucets, lighting, hardware, mirrors and tile floor, and planked the walls. 

You can catch up easily right here:


Ok, so let's be real for a moment. I did not accomplish anything this week besides ordering a few last minute things I need. I am not going to bore you with yet another picture of our bare, white {planked!!} walls...but make sure to scroll down for a peek at some accessories I've been hoarding away to pull this room together. So I really wasn't slacking this week. Instead, my week was filled with family, friends, a concert, throwing an engagement party for my brother and his fiance, a trip to the farmers market, and even a {planned} overnight hospital stay for our son. To say I was busy would be an understatement, and I did keep the challenge in the back of my mind. But I wouldn't change one thing. We made some great memories and had a very happy ending to our week with some amazing news about our little boy's EEG {he has epilepsy} being normal. That alone made me feel like I have won the lottery. Nothing like a night in the hospital to put things in perpective, not only on a health level..but just being in the comfort of your own home instead of a place like that. I am so happy to be back home and I am looking forward to wrapping up this room. Being away forced me to make some big decisions and it was a welcome distraction. Good luck to everyone else and if you want to follow along in real time, find me @missdixie30 on instagram. Can't wait to see what everyone has accomplished this week, I think most had more things crossed off their list than me ;)


Monday, April 27, 2015

Summer Sandals Under $50


Sandals under 50

Slim Crystal Flip Flop  / Georgica Jelly Sandal

Despite the chilly, rainy weather we had the last several days, I am officially ready for sandal season aka summer! I definitely need to replace a few worn out pairs of easy-go-to sandals and flip flops. The good news is you can afford to scoop up a few of these, all coming in at under $50 and some way below that. I tend to where the comfy flip flops in the house throughout the day in case I need to run outside or walk the dogs. I also need flip flops or easy sandals to take out on the boat or beach. They wear out after being exposed to the elements! Havaianas have always been a favorite of mine and I love the little crystal detail on these. I own the Georgica in white and love them for a casual twist on the Jack Roger classic. I wasn't sold on the criss cross slides until I saw them in person...so cute and fun! And make sure to check out the tassel sandals...they are a complete steal.

Hoping we all have a great week!

Thursday, April 23, 2015

One Room Challenge: Week Four

Welcome back to another week in the One Room Challenge. If you are just joining me, we are busy transforming our hall bath that was in desperate need of updates. So far, we have re-done the cabinet doors, added new faucets, lighting, hardware, mirrors and tile floor.

You can catch up easily right here:

This week we pretty much finished the plank wall treatment. We still have some finishing touches to do like adding the trim to the top edge of the planks. It has added a much needed dimension to the space and I really love it. After seeing it go up, it seemed to fill the void that I thought the room had in character. I really ached for some textiles in Week Two but this has already helped to fix that problem. Actually, now that I see the walls planked, I am leaning towards a simpler design. Think: clean, coastal, natural, with pops of metallics. I am loving the vibe that I am feeling and I am really loving that it is going to be simpler design than I started to anticipate. That is the great thing about the One Room Challenge- you are really forced to make some quick, major decisions...but I feel like where you gravitate and lean on are ultimately the right ones. So thank you Linda!


Everything in here is painted in Decorators White, by Benjamin Moore. I really like the clean pallette. Do you think it's too much white though? I'm thinking the planks would pop if we painted the walls. Would you paint the wall portion a different color? Obviously, if I am sticking with the neutral/clean look, it would be something very subtle.

Next up, painting the tile! We have everything we need, just need an afternoon to do it. I actually think it will be next weekend before we get to it.


I've got lots to do, but mainly it all involves ordering several things, getting the art hung and switching up the shower curtain situation. I've got a good idea on that but I'm waiting to share! 

Heading over to check out all of the progress this week!


Wednesday, April 22, 2015

Azaleas in Bloom


I know I've complained about how many my yard has before...because we have so many. Are they beautiful while they are blooming right now? Absolutely. Can't beat it. The other 50 weeks of the year they are not the prettiest plant, sorry. They always seem finicky to me. 


We are planning to cut most of ours way back. But, we wanted to get another season of tons of blooms due to overgrown bushes...might as well. This is one of my favorite spots...our front patio that looks at the water!


Azaleas are everywhere in our yard. After visiting the western and central parts of North Carolina this past weekend, it was really interesting to see just how many people had azaleas in their yard. Such a southern thing. They are striking when they bloom.


I grabbed a handful from different bushes around the yard and literally, stuck them in a jar. It's hard to do that with many plants. I love the organic look.


My sweet Tucker, in front of azalea row.


I am totally loving the azaleas this week, can't lie! Skipping to another part of the garden- I have my first baby tomato! This was from the plant called the "Early Girl" supposed to produce the earliest tomatoes. Looking forward to this one and any more it produces. {And just because I am still learning about vegetables, where you see the yellow "flower like" blooms below the tomato- those are actually a bloom for a future tomato!}

Tuesday, April 21, 2015

Entertaining Idea: Pineapple Centerpieces


Blame it on all the Lilly I've had on my mind, but I came across this idea and wanted to share. As you all know, I am obsessed with fresh flowers and keeping our garden full of blooms. This is such a fresh take on integrating natural elements into your tablescape. All of these images were from beautiful weddings, but I think it would be fun to dress up your ordinary dinner table with a pretty centerpiece just as well. Enjoy! 

Monday, April 20, 2015

Lilly


Oh yes, I was definitely drinking the Kool Aid...the Lilly Kool Aid that is, yesterday morning! I actually went to bed, not even thinking about it. I happened to wake up about 3 AM {I tend to wake up during the night, blame it on having a child I guess!?} but I can usually put myself back to sleep by scrolling pinterest for a few minutes {bad habit I know}. Last night, big mistake, I caught wind of the Lilly for Target release going on at that very moment. To make a long story short, I ended up purchasing a few things, that I didn't even think I had purchased. I got an "error" message and then when I checked my email later, I had an order confirmation! Crazy. I really wanted some of the home items over the clothing, but I wasn't able to luck out with those. They wouldn't add them to my cart, probably because half of the female population was doing the same thing.


We were in Asheville, NC for the weekend and had to hit the road early. Needless to say, sitting in a parking lot in the rain was not in our cards {can you imagine your husband doing that before a seven hour drive?} I'm still hoping they will release some more things. I've always loved me some Lilly, 
can't help it.

And if you, by chance, get your Lilly paws on some extras...I will be happy to take them off your hands. But being real, I am not messing with that triple price stuff being jacked up on ebay. No thanks! Is that not SO frustrating...those people taking entire racks of stuff. Taking the fun out of it for everyone! Here is what I really wanted:


Hope y'all had better luck than me! Seriously though, when will companies learn to prepare, stock well and have their internet working at max potential! Oh well...setting my sights on better and more important things for the week. And I hope no one is TOO sad over the Lilly {letdown} for most people. We've got lots to do and have another busy week and weekend ahead. Happy Monday! 

Thursday, April 16, 2015

One Room Challenge: Week Three

Welcome back to the One Room Challenge, already to Week Three! It's hard to believe we are halfway there...time to really kick it into high gear! If you are just joining me, we are busy transforming our hall bath that was in desperate need of updates. So far, we have re-done the cabinet doors, added new faucets, lighting, hardware, mirrors and tile floor.

You can catch up easily right here:

This week our biggest accomplishment was getting the planked wall treatment up. I can't even tell you how much I love it already. It has literally transformed the space, giving it a completely different feel. It feels cozier and charming. We hired someone to come cut the wood planks and install them, just because of a lack of time on our hands. It was definitely something we could have done ourselves, but it did relieve me of the stress of getting it done in order to really move forward with the room. Good call, husband!! Not that I really needed to explain to a professional how I wanted it done, but I asked him to use a nickel as a spacer because that was the size gap I wanted. He used a nail gun and it went up so quickly, I was amazed! I also requested to have the planks done the width of the walls instead of chopping it up. I wanted a "long plank" look in the small space, plus I didn't want it to compete with the tile that it went up directly next to.


I have patched the nail holes and started priming, then I'll sand them down smooth and then move on to hopefully, just one (probably two!) coats of paint. I cannot wait! It's good y'all. I will share a full tutorial when I am finished.

I did a little research on the shower faucets and I think I found some that will work for us! This is such a relief. My plan is to order this set, make sure it works {there aren't a lot of options for three knob configuration}, and then we will proceed to refinishing the tile instead of doing a total gut job on the shower. I am so relieved to not have a HUGE dusty disaster yet again in this room! If you are just now reading, the tile and iron tub are in great shape, but the tile is beige and I would love it to be white instead. The shower faucet configuration is the worst of the whole scenario: old, yellow and rusty. 

Here is the shower, as is:


I think once we get the planks painted it is really going to pull the room together. Can't wait to see that happen! Still, lots to do, but we are inching our way there. 

Now, I'm headed to check in on the progress of the ORC and the ORC linking event! So many amazing things happening there y'all! Thank you so much for reading along this transformation.


Monday, April 13, 2015

Three Beauty Faves for 2015

If there is one thing that changes over time, it is beauty favorites. Why do we do it? We find something we really love and then want to try something new eventually. It is fun, I know. I do it all the time. But, I have found some new things that actually feel like they are filling a void rather than replacing an old favorite, which is a fun twist in my routine.


This is my absolute favorite of the new products I have used this year. I would say I have moderately sensitive skin, and on the dry side. I was a little bit nervous to try something in my routine that would be a "mini peel" with my dry skin. It actually turns out the opposite. I have hardly had any dry skin problems at all since using these because they simply take away any dead skin and get your skin ready for moisture. I always follow with a moisturizer, especially around my eyes. I swear these things brighten my skin every time I use them. No wonder, they are packed with vitamins. I'm obsessed!! 


When I picked up the Peel Pads, I also bought this eye cream. I wanted something that was going to hydrate around my eyes above all else. I have gotten so many of those samples in the "gift with purchase" from numerous brands and I've never been hooked on one. I absolutley love this moisturizer. It feels so fresh and healthy on my eye area. I really look forward to it after using the Peel Pads. I've heard that great skin is all about hydration and moisture, and this product makes me beleive in that. And, it smells so fresh and clean too. Can't beat it. 


It's officially the season that I must add some self tanner into my life. I have tried several tanners, and this is my new favorite. It has a great, natural color {even with my fair skin} and it smells way better than most tanners. I'm telling you, try it out. Use it just like you would any other self tanner. You can also buy it at Sally Beauty Supply {it will be a better deal if you buy it in store- I'm not sure after any shipping costs what the breakdown would be if it was worth it to ship}. I seem to always have some remaining color of the palms of my hands after any self tanner {I'm on the lazy/quick/rushed side when applying}, but after washing them several times out of normal habit, it is gone. I think it is priced better than most comparable self tanners too.

What are your most recent favorites?

Saturday, April 11, 2015

Saturday Shopping

Zip Pocket Shift Dress {Take 25% off sale price with code SHOPNOW. Such a cute shift!}


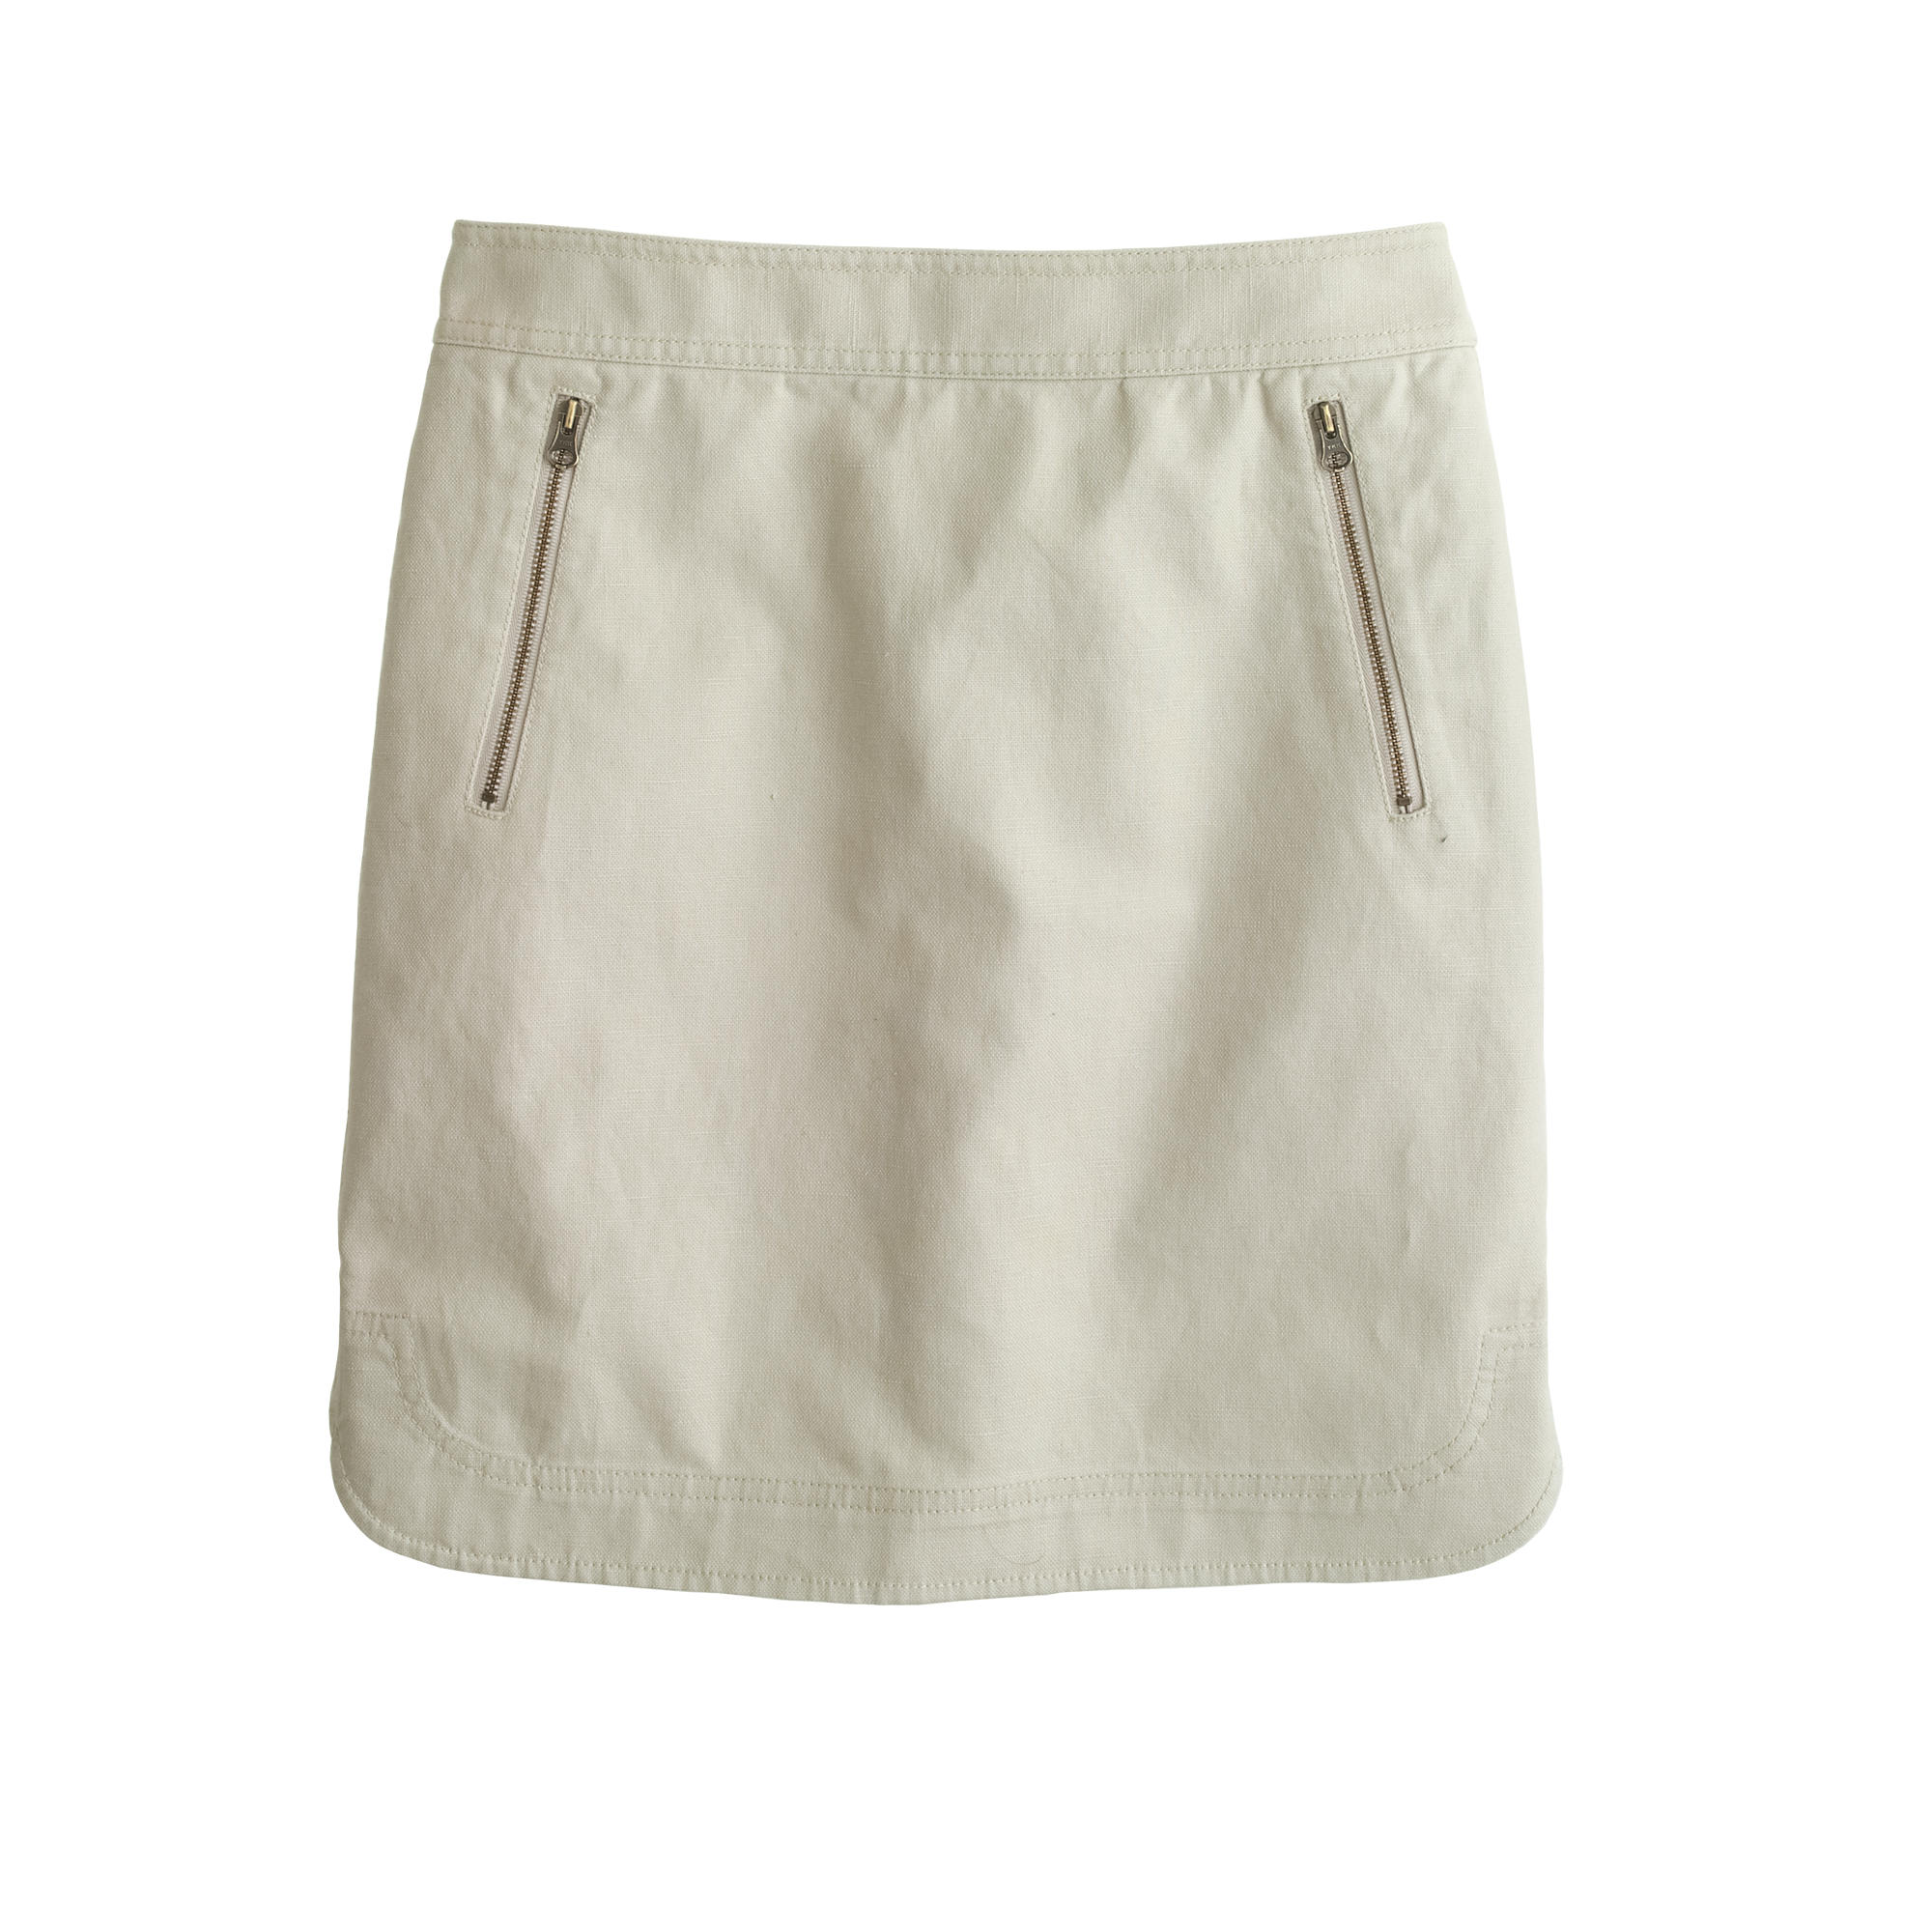
Zip Pocket Canvas Mini Skirt {I need more basics like this and the zipper is a fun detail}


Also, I've mentioned this Tassel Tie Beach Tunic which is marked on sale, plus additional 30% off.


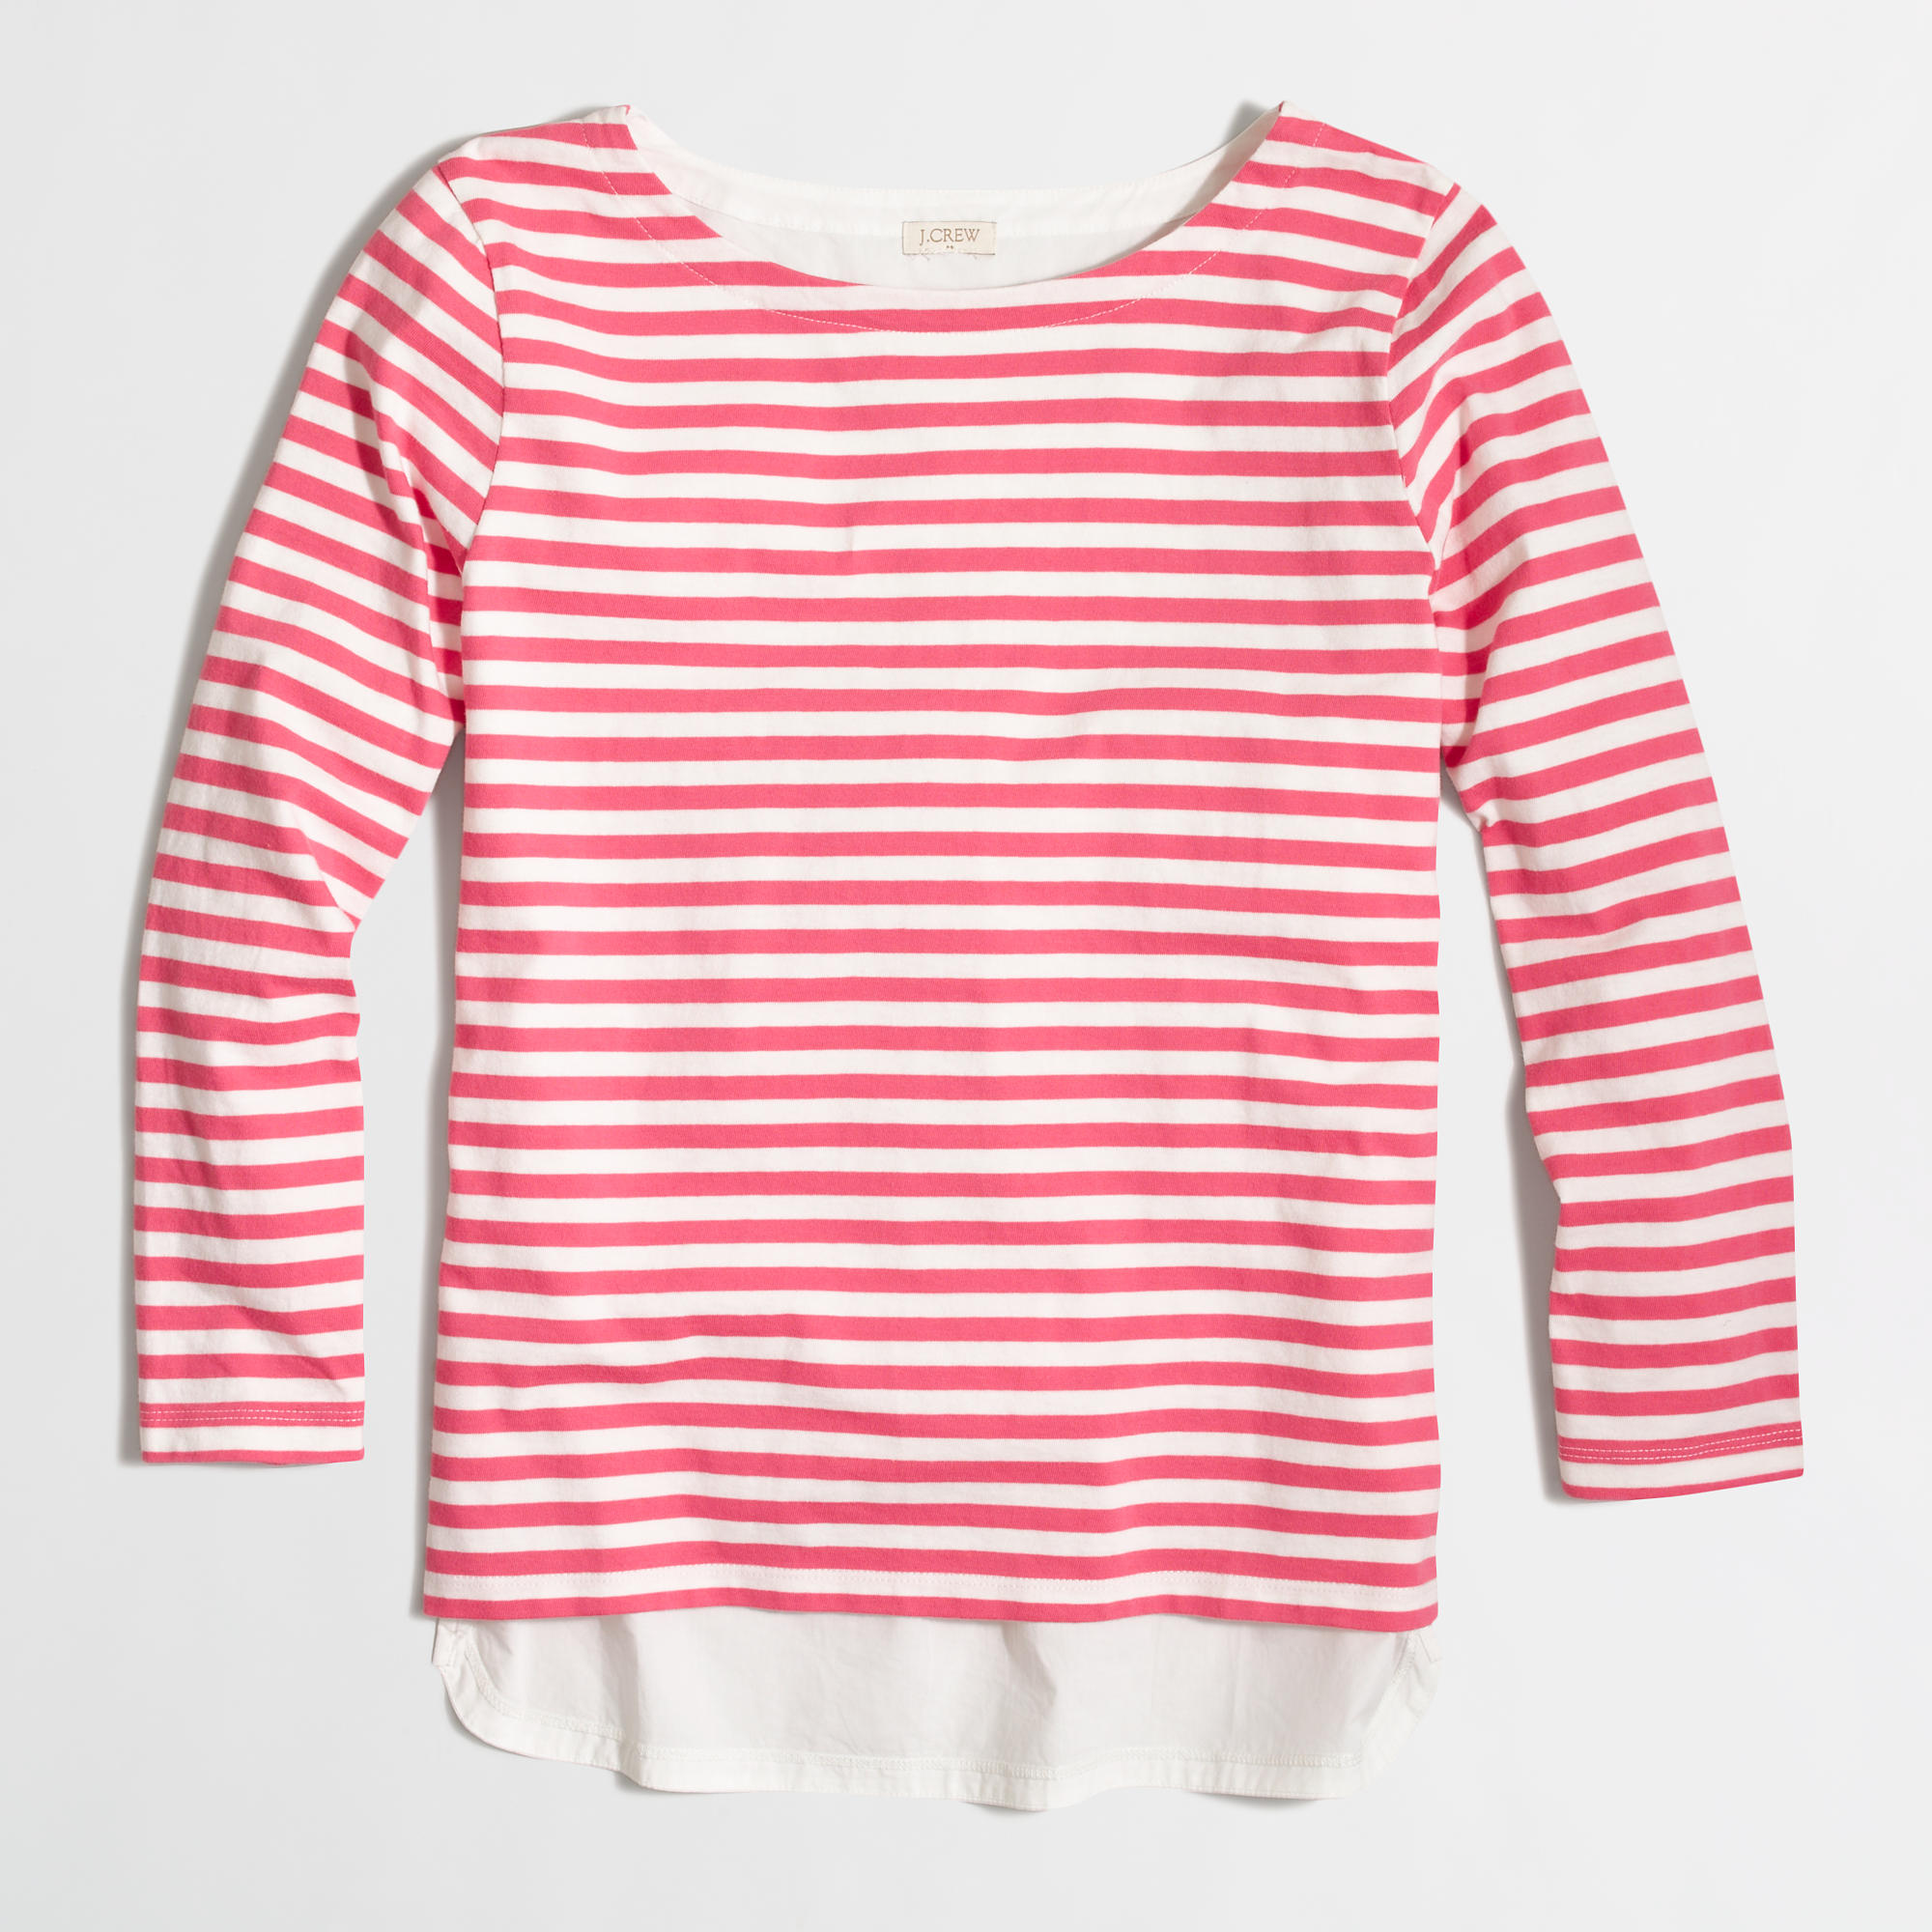
Stripe Woven Back Top {only $26.50 and classic}


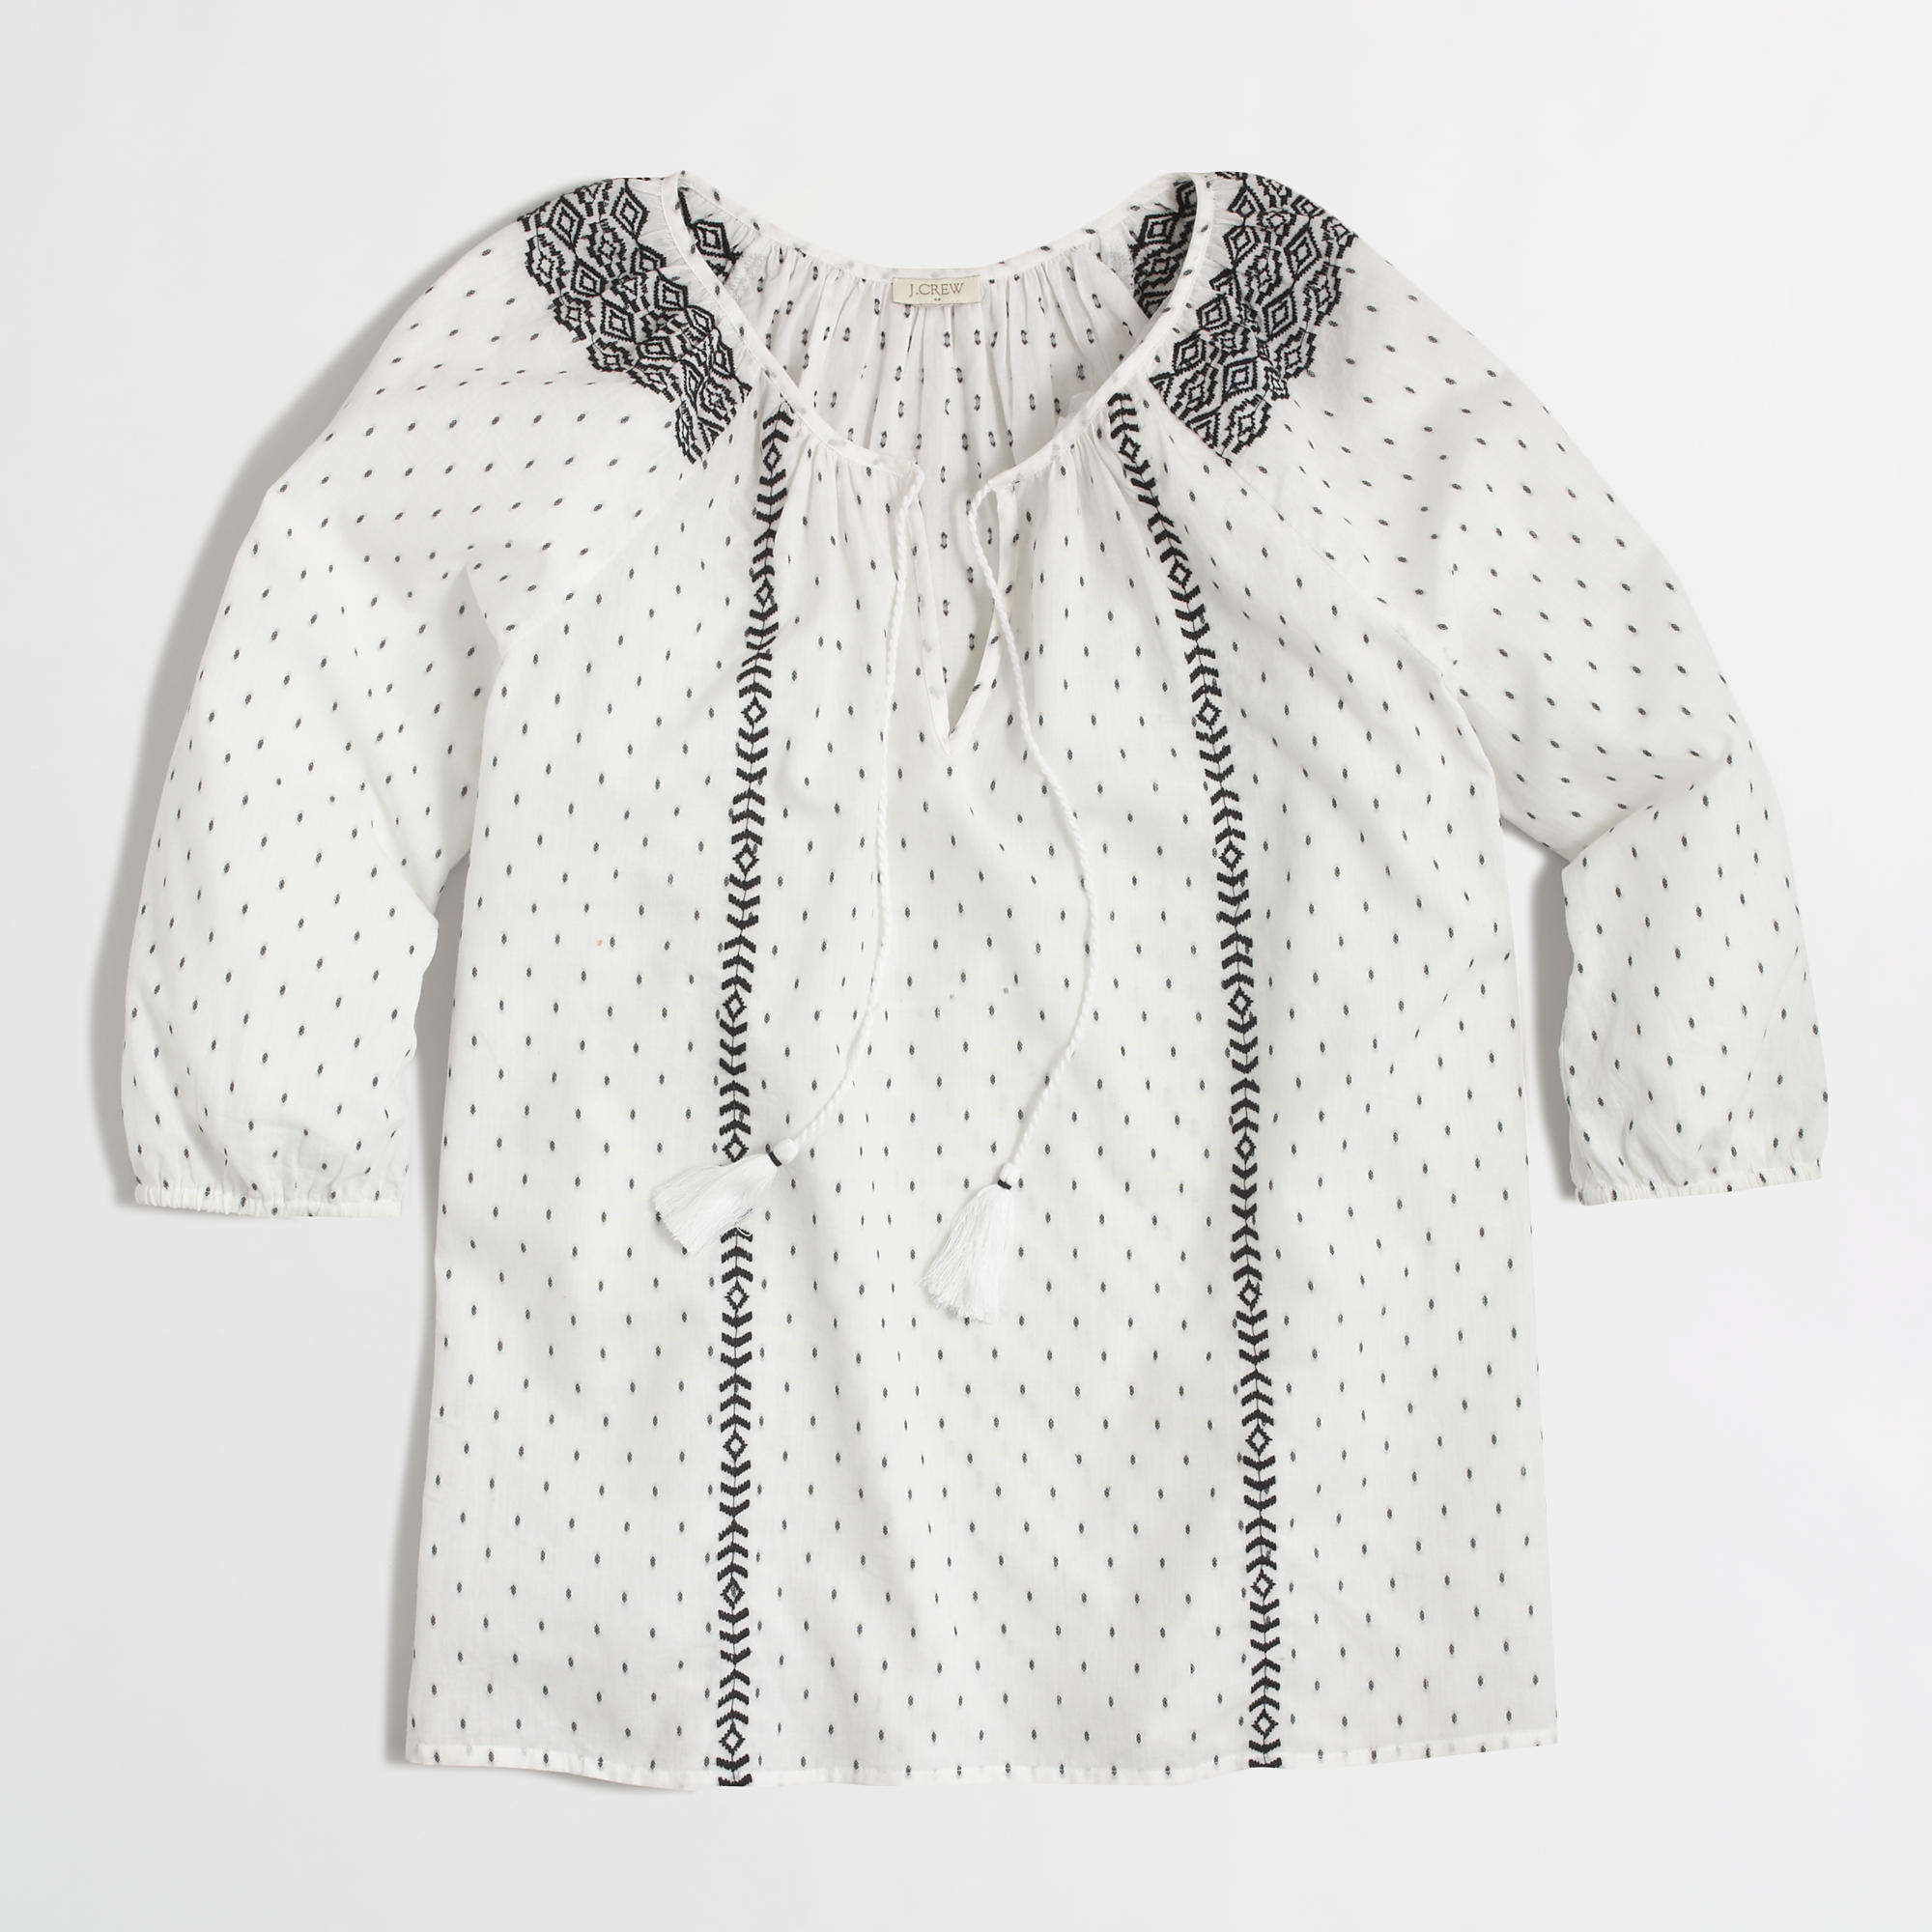
Embroidered Beach Top {Love this for a breezy day near the water}

We have just decided we are painting the house today, so my Saturday browsing is being cut short! Tag along with me on instagram {@missdixie30}. Enjoy your weekend!

Friday, April 10, 2015

5 Years


Five years have flown by in the blink of an eye. It seems like a major milestone to hit five years, am I right? I look at this photo and I think, oh my gosh....we were so young! I can only imagine once we hit ten, fifteen, twenty...fifty...sixty!! Marriage really is a wonderful thing. I knew I picked the right one five years ago, but it is even more evident today. 
I love our story, our family, our home we share, our future, our love.
 Happy Anniversary Stephen.
love, Katie

Thursday, April 9, 2015

One Room Challenge: Week Two

Welcome back everyone! How are we already posting on Week Two? If you would like to catch up on  where I'm at, check out Week One. Yesterday, I posted on my method of transforming our 70's doors into shaker style as well, if you are interested.

So this week...I hate to say I might be falling behind but I didn't accomplish too much. I do feel like I have more of a game plan though, so I feel better about that. I've been waffling back and forth on what color scheme I wanted to add in here because it is very stark right now. I love the grey floors but they ring cold and dark, and I have to balance that out somehow. I spent hours looking at rugs online and finally called it quits and decided the rug would be an element thrown in later. I looked at lots of my inspiration baths and a lot of them didn't have rugs at all. Do you have one? Or just a bath mat that you fold up? So for now, rug is on the back burner. 


For the rest of the game plan...I found some goodies while visiting Raleigh for several days and here is a little sneak peek....


It's hard that this bathroom doesn't have any windows and I'm itching to introduce some textiles to it {hence, the rug}. No window coverings, no throw pillows in a bathroom...so I'm looking at adding the textile element to a new bath stool OR possibly create a cornice board over the shower curtain. I still plan on using the waffle shower curtain because I really like the clean feel and it is where a baby takes his bath. I like it. 

I also hit up Home Depot in Raleigh to get our wood cut for the planks for the faux shiplap wall. I planned on getting it cut into 6" planks, but had a little setback. The employee explained that they only cut wood down to 12" which threw me for a loop. I've read numerous times how they will cut it down to this size but I didn't have that luck. My little helper man explained that Home Depot has a safety code violation system for the employees with a certain number of strikes...and he was on his last strike for violations before he got fired! Eek!!! Needless to say I didn't want him fired, so we will have to cut the wood down ourselves from 12" planks to 6".

I'm thinking about changing the tone of the gold on the mirror as well. It reads a little too reddish to me- thoughts? 


I can't wait to see what everyone else had up their sleeve this week! So many talented and fun projects are happening and I'm lovin' it. To check out the linking event, see here, and to check out the rest of the Challenge, check it out here.


Wednesday, April 8, 2015

DIY Shaker Doors

As y'all know I am currently challenging myself to get our hall bath done as part of the One Room Challenge. Part of the remodel that we already finished was transforming our bathroom cabinet doors to a shaker style. I am finally getting around to the tutorial I have promised several times {whoops!} This method has converted my 70's cabinet doors into a style that I love. In my dream world we would have gutted the cabinets in the kitchen, mud room and bathrooms....but we had so many other needs we needed to stretch our budget as much as possible. Enter DIY Shaker Doors! We have used this method on our kitchen doors and bathroom doors, which you will see in different photos below.

You will need:
-Thin plywood cut into strips {ours are 2.5 inches wide, called Lauan Plywood}
-Wood Glue
-Nails/nail gun
-Wood Filler
-Paintable Caulk
-Primer
-Paint
-Tack Cloths
-MH Ready Patch {if you need to fill any existing large gaps on the doors, like our scallop design}
-Sandpaper- fine and medium, or even better, an electric sander

The first thing we did was remove the cabinet doors. As you can see in our original kitchen photo, our cabinet doors all had a scallop design. It's very hard to believe this was our kitchen when buying our house- just one year ago!


and the bathroom...


After much trial and error using wood putty and sanding, {countless times} I finally got a tip from our painter to use a product called MH Ready Patch. It goes on just like wood filler, but dries so much more solid and doesnt shrink! I cannot even tell you how many times we patched and sanded, patched and sanded, and the scallop design was still lurking on our cabinet doors. If you have any grouted design like ours, fill the places that will be visible and sand them down smooth {for this I would recommend an electric sander if you have access to one}. I always close my eyes and run my fingers across something I have sanded to make sure it is smooth! 


Next, you are ready to get your wood strips ready. Apparently, some Lowes and Home Depot will cut your sheet of plywood into strips this small {2.5 inches} but ours did not. So, we bought the sheet of plywood and cut them down to the correct width ourselves. Next, measure your doors. We measured and cut pieces the vertical length of the doors, and then measured and cut pieces to fill the horizontal width. Attach the strips with wood glue for extra security, then nail them down with a nail gun.

Then, fill any cracks between your wood strips and cover any nail holes with wood filler. I try and fill any imperfection I see with the wood filler to prevent backtracking later! Sand once dry with a fine grit sandpaper/sander, and run a tack cloth over them to remove any dust.


Prime the cabinet doors, back and front. Sand again and wipe down with a tack cloth. Caulk around the inner and outer edges around your strips. {Per my Dad's tip: your pointer finger is the best tool for a good caulk job. Have a wet rag handy that you can wipe your finger off on after your smooth the caulk!} This really helps to achieve a seamless look with your new trim and will be invisible once you paint. 


Here's another tip: If you have any wood grain showing that you don't want, I have used the method of putting a really, really, thin swash of wood filler over the grain, just to fill the tiny holes.


It's best to do it with a putty knife and apply it like you would be filling a hole, except you are just skimming the surface of the wood. Sand them down afterwards if you do this too. It's an extra step, but so worth it for really good results! I wanted the smooth look of cabinet doors vs. a grainy look. You are now ready to paint! 


When we did our kitchen cabinets, we hired a professional painter to spray them and spent a ton of money on it. I decided this time around I would buy my own sprayer and I'm so thrilled with the results.  It was so simple to use this paint sprayer and it worked like a charm. I can't sing the praises enough for this little machine and how much money it saved me. I only wish I would have bought it before! It took me two primer coats and two thin coats of Benjamin Moore Advance paint in Decorators White to achieve our finished product. Keep in mind, we were covering some darker paint and wood so you may not need the two primer coats, especially if they are thicker. It's a pain, but I always sand after each coat of paint. It's worth it in the end! 


I hope this helps you if you are looking to update your cabinet doors like us. It seems like a lot of steps, but once you get the process down, it goes quick! I'm currently out of town, but when I get home I will update this post with some better kitchen and bathroom photos too. As always, let me know if you have any questions :)

And if you want to catch up, here is...
One Room Challenge Week One