I figured it was high time to give y'all an update on our Master Bathroom progress! If you want to see my initial inspiration for the bathroom, you can visit here. This was definitely a project we were pumping the brakes on for as long as we could, but finally decided that now was the best time to get it over and done with. Anyone that has completely renovated a bath or kitchen knows just how much time, effort, dust, CLEANING, work, and money that goes into it! With a baby due this summer, and a toddler needing a big boy room, we decided to go ahead and tackle this monster head on during winter so hopefully our Spring can be full of fun projects and time outside!
Warning: this post is not full of pretty pictures. We are just beginning to see the light at the end of the tunnel here, that all the work is actually worth it!
Here is where we started: the deepest, darkest, furthest corner away from the public eye of our house:


Below is a different view, where you can see the bifold doors to the linen closet. You can imagine the door to the bathroom knocking up against those bifolds umpteen times a day! Fun fact, when we moved in the old owners housed their washer and dryer in this closet! Venting the dryer into the master closet. Pure craziness!

Here is the complete plan of action:
-Remove wall for toilet/shower area
-Remove soffit boxes over sinks and shower
-Repair drywall in corresponding places
-Remove shower pan/tile and replace with new
-Tile new shower
-Remove linen closet bifold doors/add new closet and open shelving unit
-New floor
-New vanity
-New toilet
-New sinks, fixtures, lighting, shower faucet
-Install new shelving in closet and open shelving unit
Here is a quick reference for the removal of walls/soffit boxes:

Here is a quick reference for the removal of walls/soffit boxes:

The first thing to do was remove the soffit boxes and the wall separating the two spaces and OH.MY.GOSH I was having multiple panic attacks looking into this room or even thinking about it. We ended up tearing out more drywall than was absolutely necessary, but decided it was beneficial since the walls have been wallpapered, been exposed to humidity from shower steam for years {with a bathroom fan that we learned was never even plugged in, it was just creating noise!!!} and just seemed old. I like fresh and new.

Luckily, the exposed walls did not last long, and Stephen and his Dad hung the new drywall on a Sunday when it was frigid, rainy and wind gusting like a tropical storm. Nothing like cutting sheet rock in those conditions! They also took the time to add a lot more insulation behind the scenes since our house could benefit from more of that since the way things were done in 1970. The sheetrock you see is purple, which is a little pricier than your average but it has a mildew shield.

Next, we hired a drywaller to come in and do the nitty gritty work for us of getting the new walls nice and smooth. We also hired a tiling company to install new cement board in the new shower. Although not cheap, it was worth it to make sure the slope of the shower floor and all of the under layment of the shower to be done perfectly with no room for mistakes and leaks! You can also see that there are now two cut outs on the right, which is where we converted the larger linen closet into one closet and one opening for open shelving.


The below picture gave me hope that we were actually getting somewhere! The new door is hung, the open shelving unit is framed out, and the walls and ceiling are primed and ready for paint. Saying goodbye to the bifold doors made me SO happy.

We were absolutely ready at this point to have a working shower again after two weeks of not having one. Stephen and his brother Thomas spent the majority of Friday night and Saturday working on our new subway tiled shower! We used white subway tile and a hexagon accent for the shower niche and the floor. I really wanted to do something marble but was advised of a slip hazard with marble, and since I am pregnant and all...well that's not a good idea. However, I am really genuinely happy with this classic, all white combination!

And another shot after the grouting. The tile still needs to be sponged down a few more times after the grouting, which will make the tiles less matte than what they appear here.

I should have my mirrors in any day, which will be so nice since we tore the old giant rectanglular mirror out during the drywall work. We also have to get the ceiling painted with it's final coat so the new bathroom fan and the can light over the shower can be installed. {We waited until after the painting so we didn't have to cut in}
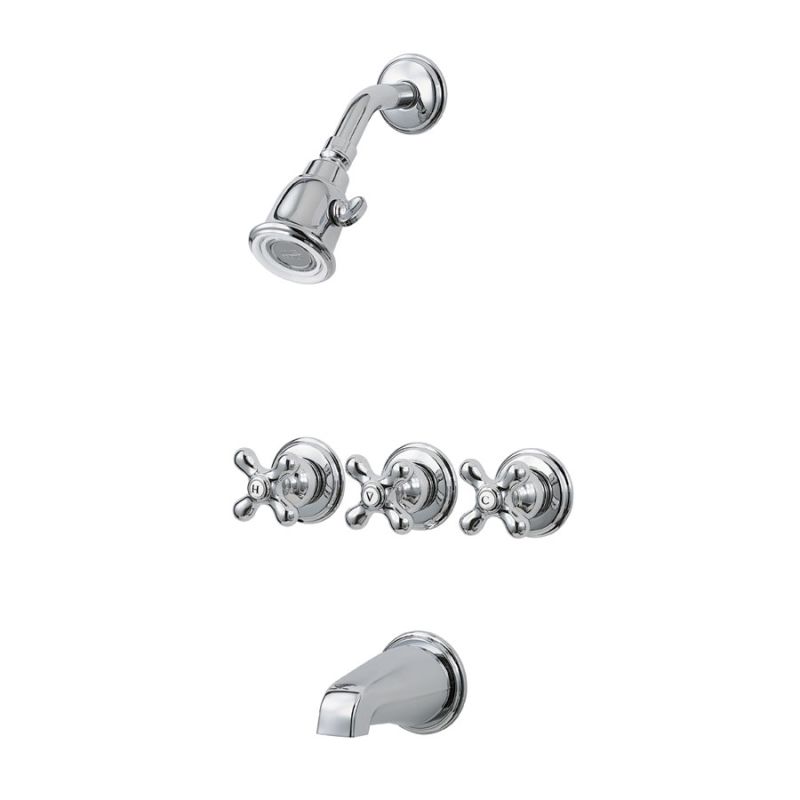
We will do all other painting, install new crown molding, add shelving to the two closets, and install the shower faucet next. We have ordered a custom vanity locally, and that is going to be probably about a month before it is finished {eek!} but it gives us plenty of time to knock out the other items on the list and get the new floor down. The majority of the big, bad work is done and I am over the moon! While I haven't participated in the labor in the bathroom, I have chosen the accessories that will be going into it. I decided to go with an all chrome fixture/accessory theme. I love me some brass but it is so difficult to pick it out over the internet, and I think chrome is timeless with lots of bright white!

shower faucet // mirror // sconce // sink faucet // hooks {remind me of anchors!}
shower faucet // mirror // sconce // sink faucet // hooks {remind me of anchors!}
What do you think about our plan of action? Anyone have any bathroom reno tips for me to consider from here on out?